Today I finished making a giant fake ice cream cone*, and several people have asked me how I did it, so here you go! Apologies that some photos are a bit dark.
I started by drawing diagrams of what I thought I’d do, and gathering all the bits and pieces I’d need.
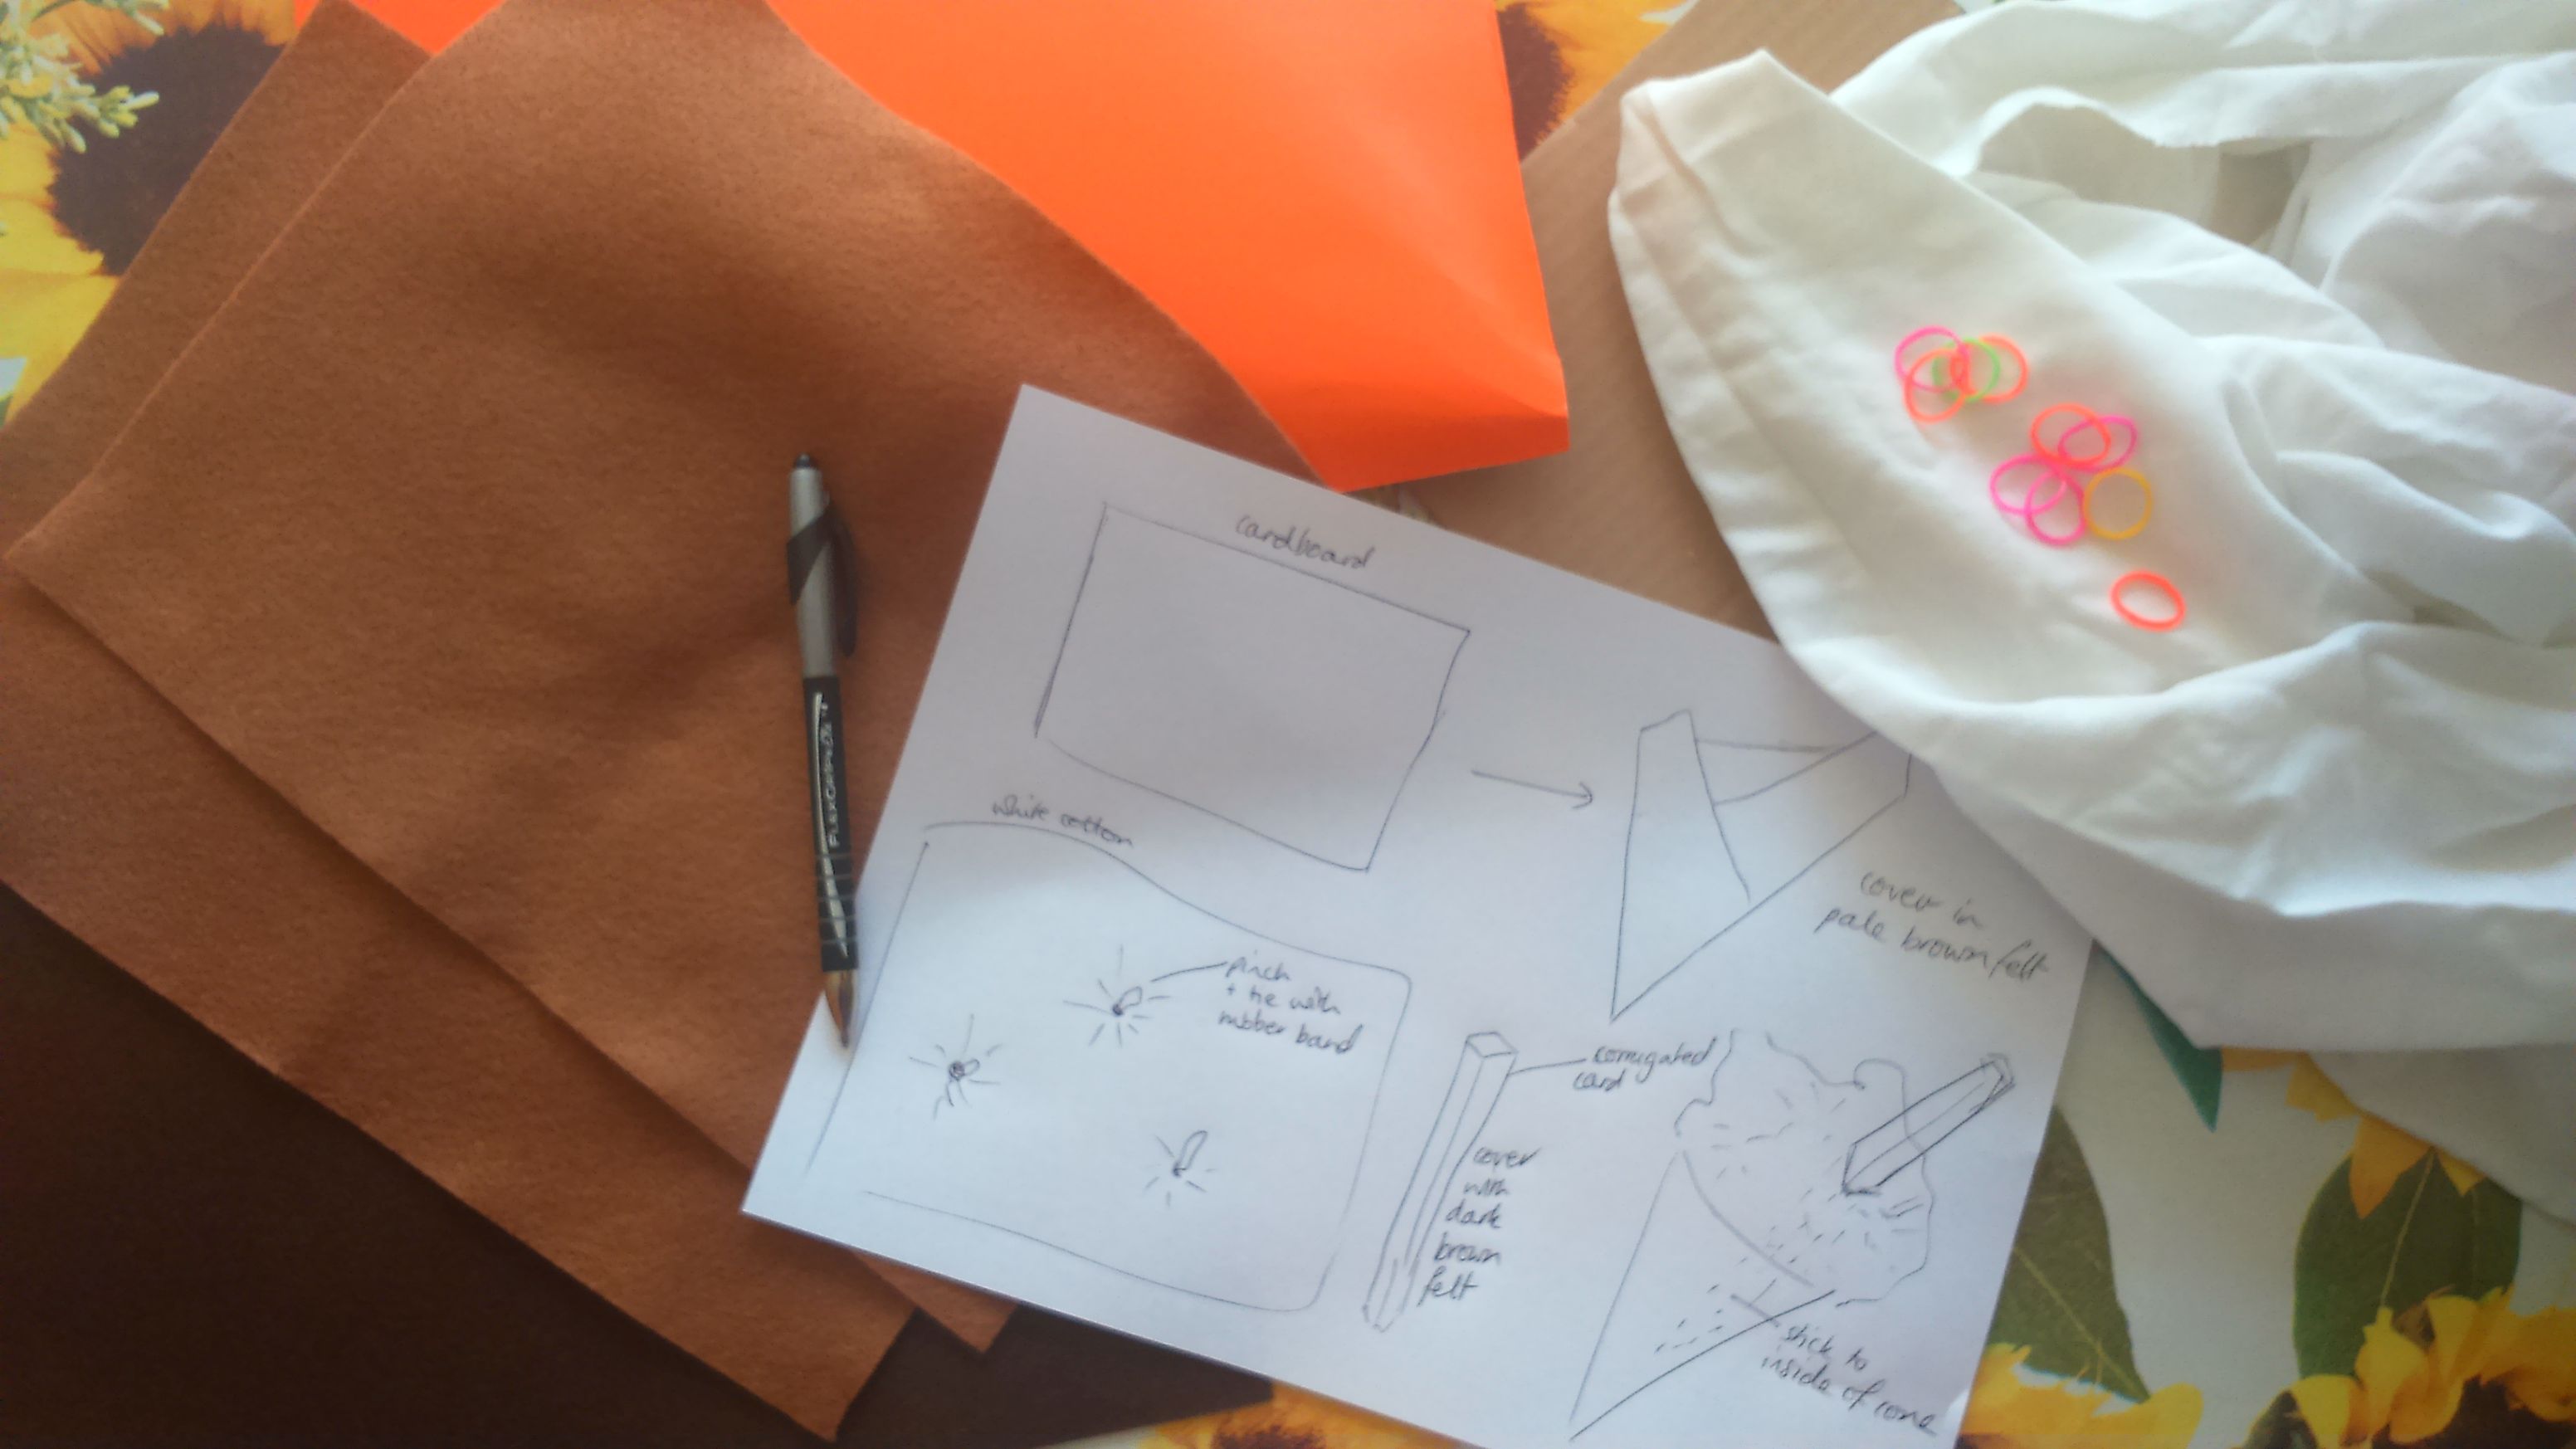
I used:
- corrugated card (for the flake)
- thin card (for the cone; mine was from an Easter egg carton – I’d saved it because it was a nice bright orange colour)
- Pale brown and dark brown felt (from Hobbycraft: total £1.50)
- old cotton bedsheet
- loom bands (stolen from my daughter’s stash)
- Tacky Glue (it’s like PVA but stronger – not as strong as superglue though!)
- Needle and brown thread
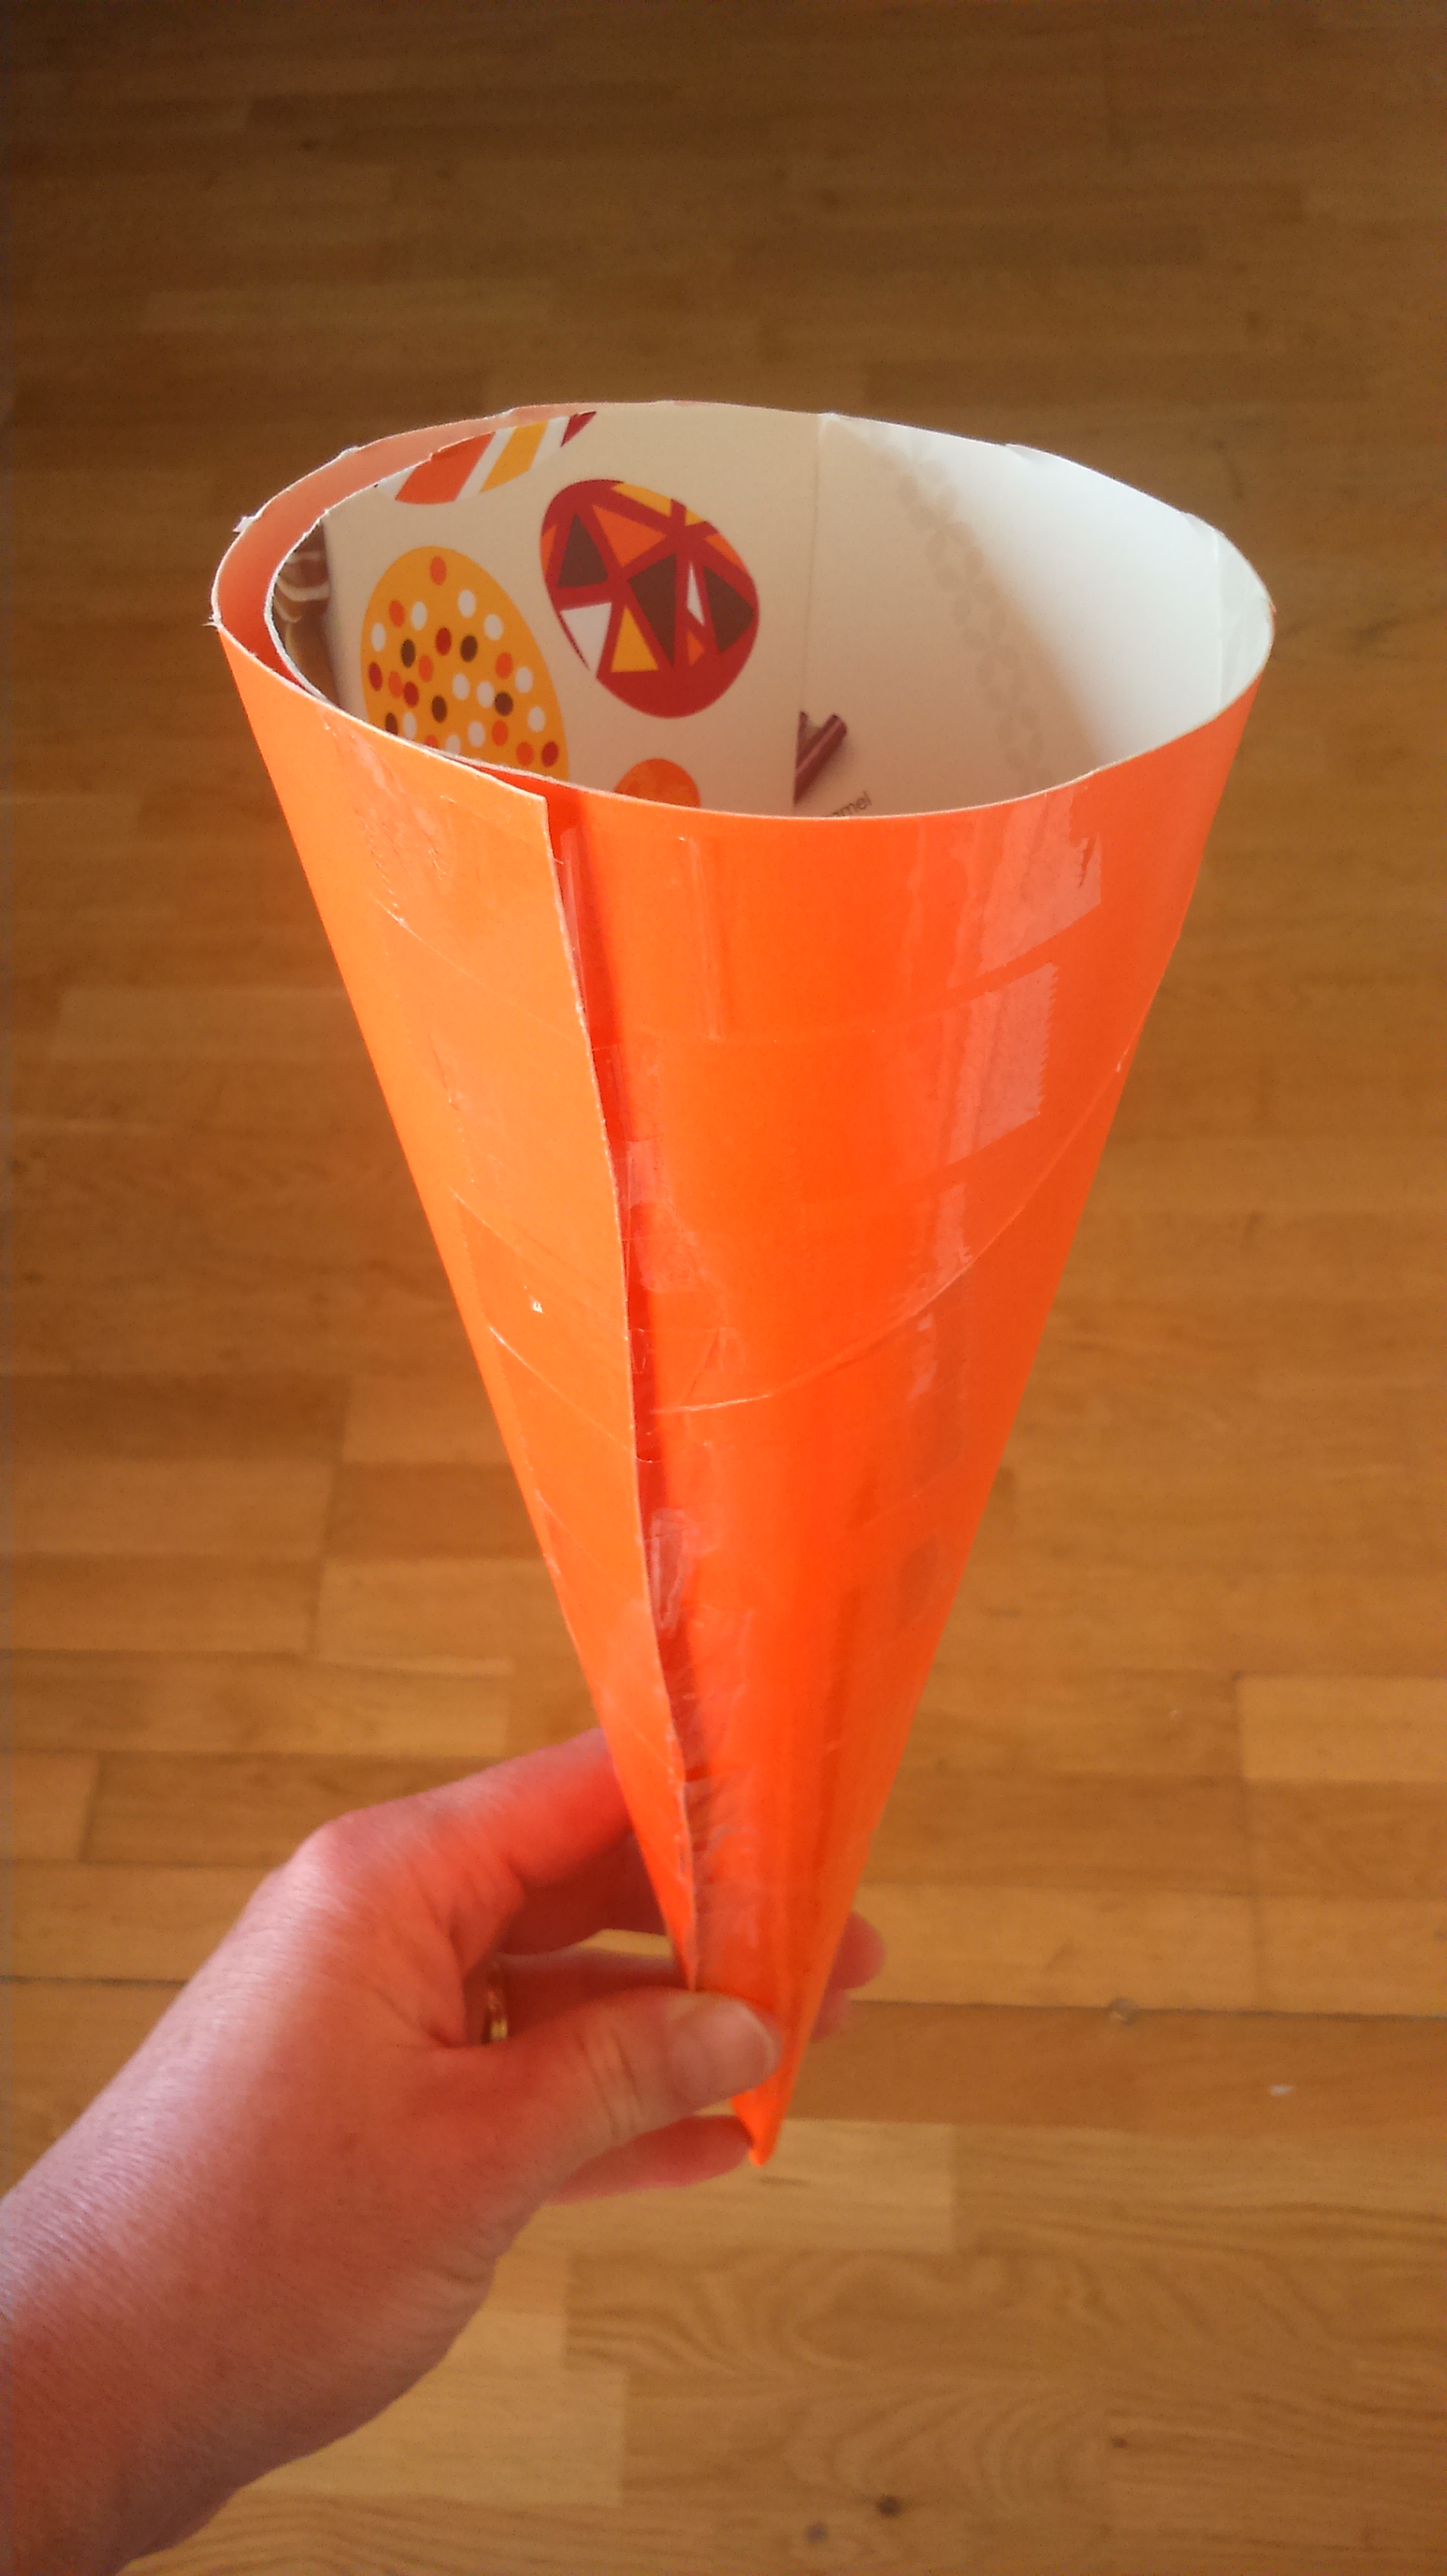
I bent the thin card into a cone shape and sellotaped it in place. The top was a bit wonky. I didn’t bother trying to make it too neat:
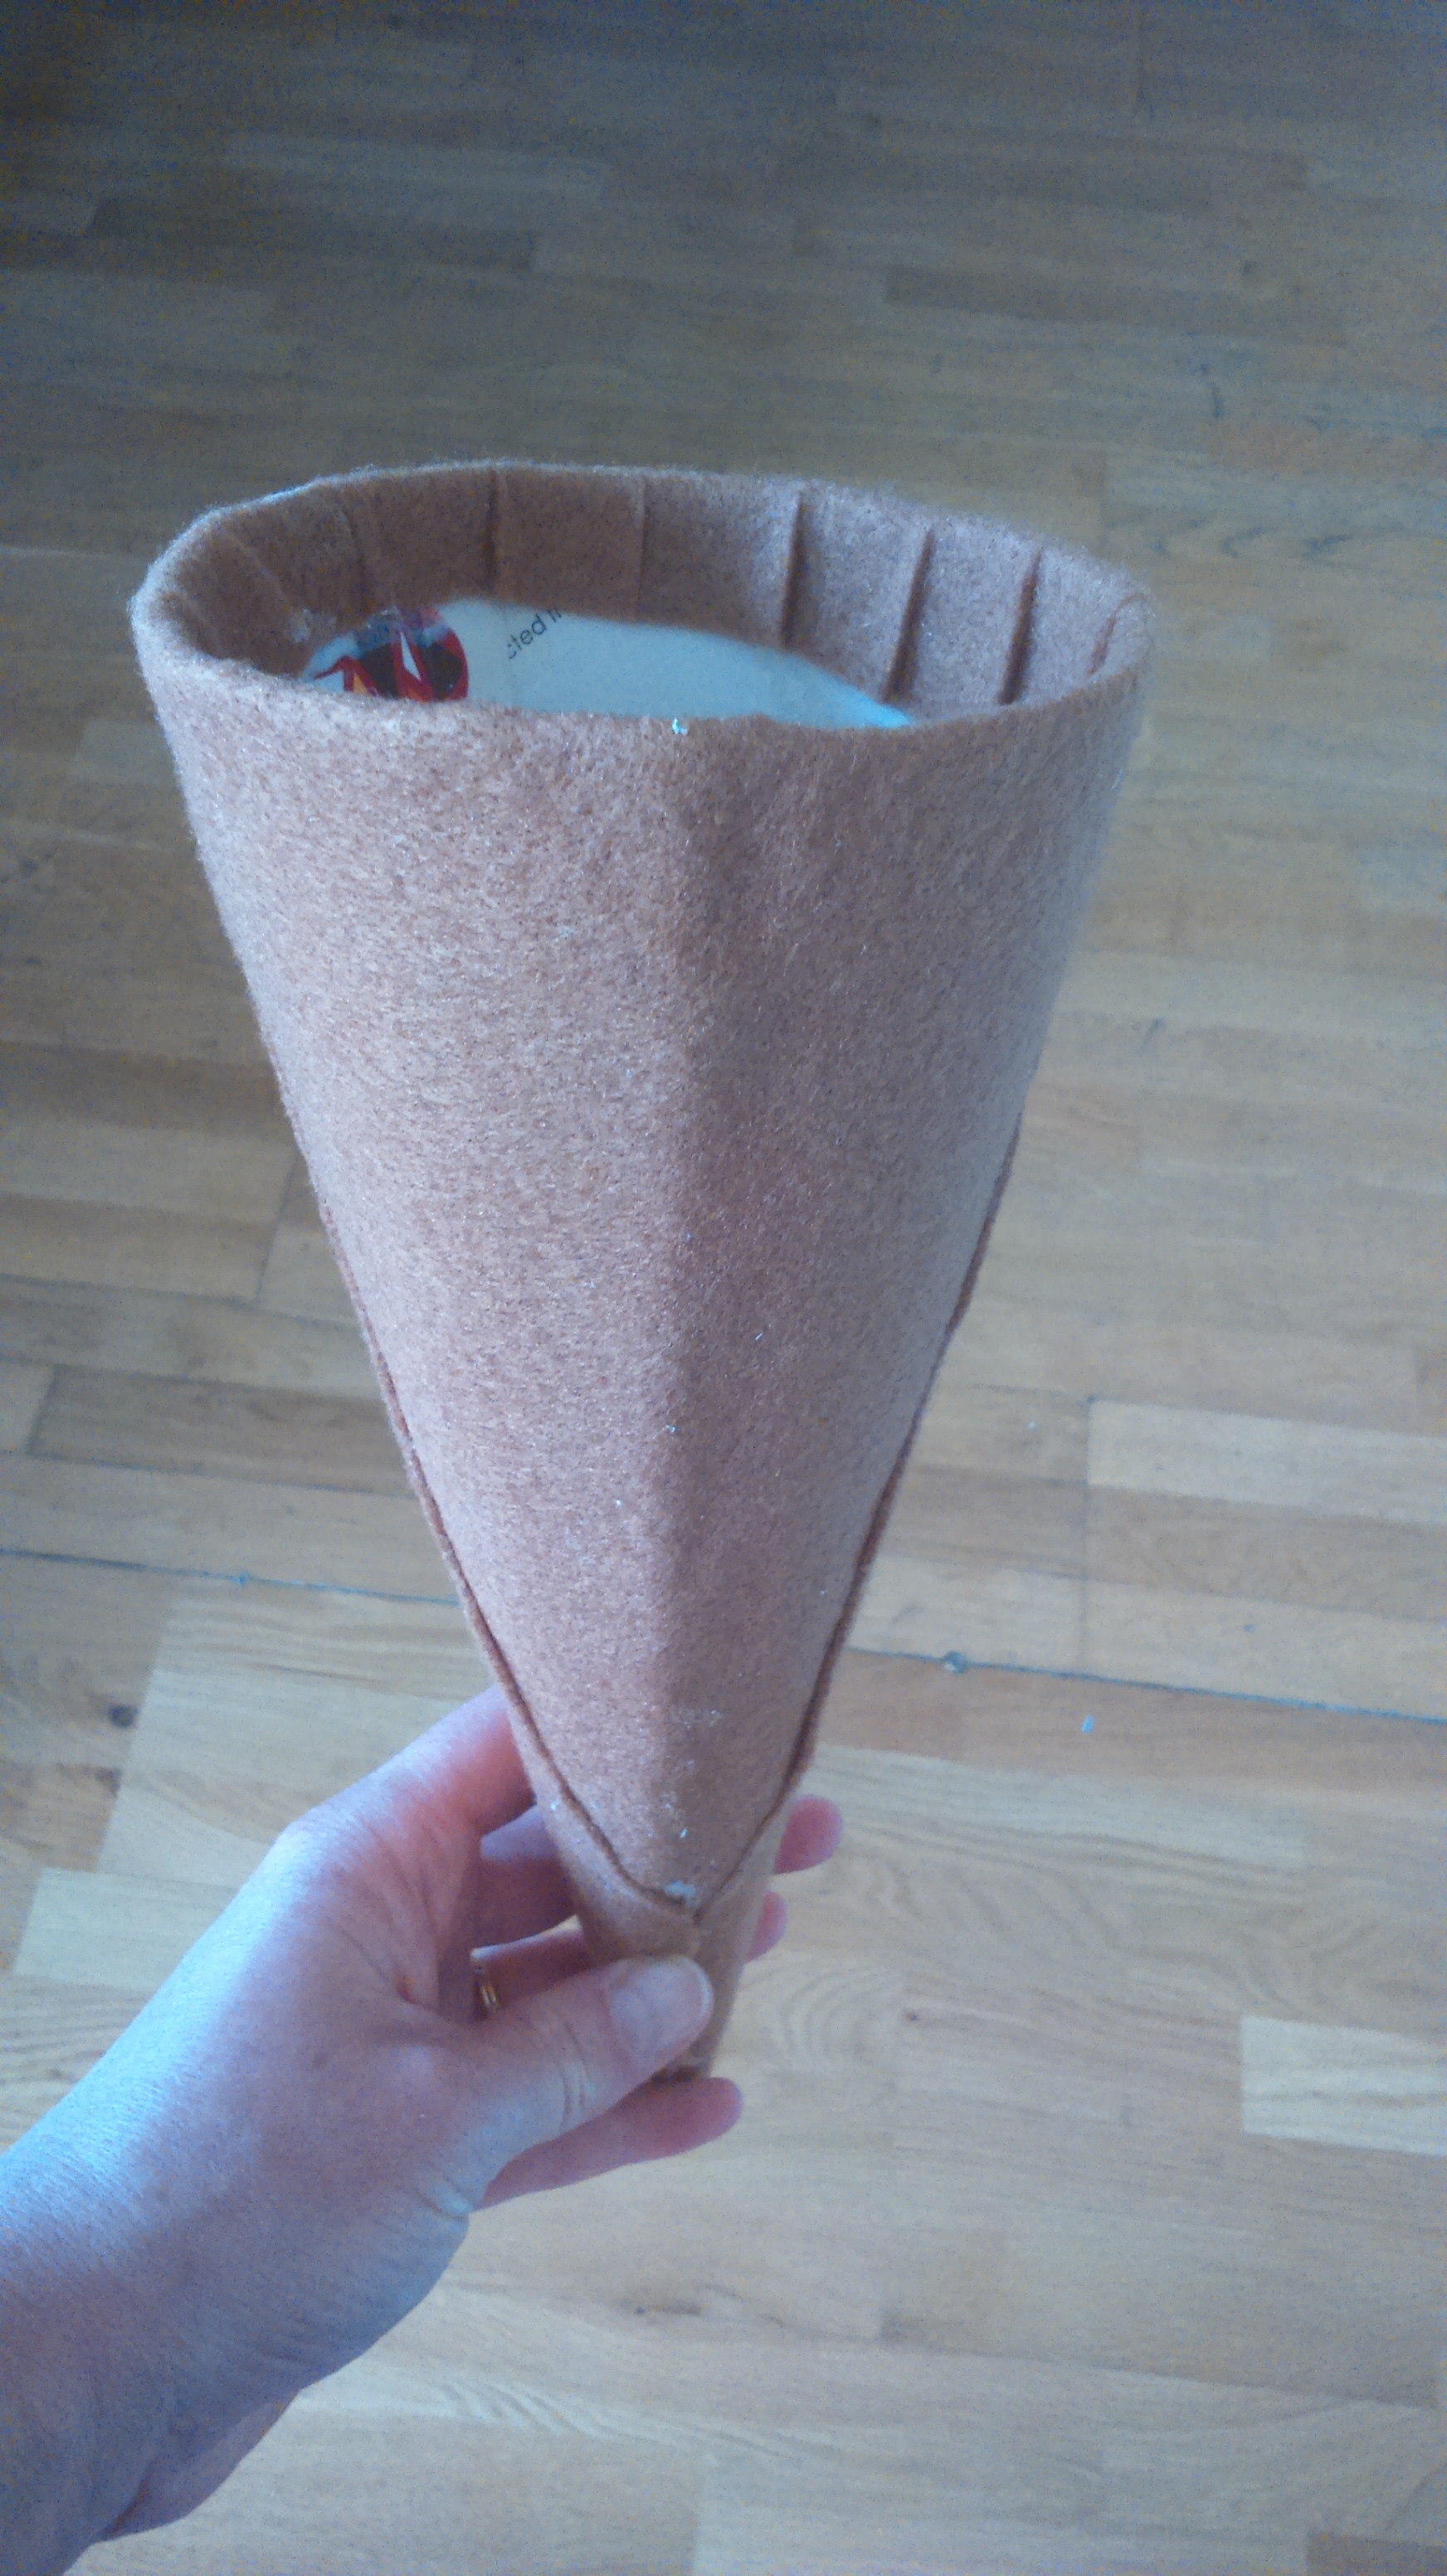
Then I covered the cone with glue and stuck on the pale brown felt, cutting into the top edge so that it folded over smoothly. I didn’t have a sheet big enough to do it in one go so had to use two pieces. I wasn’t all that happy with the result because the edges where the two pieces met were untidy and crooked:
I decided that the best way to hide the edges was to add some lattice pieces over the top:
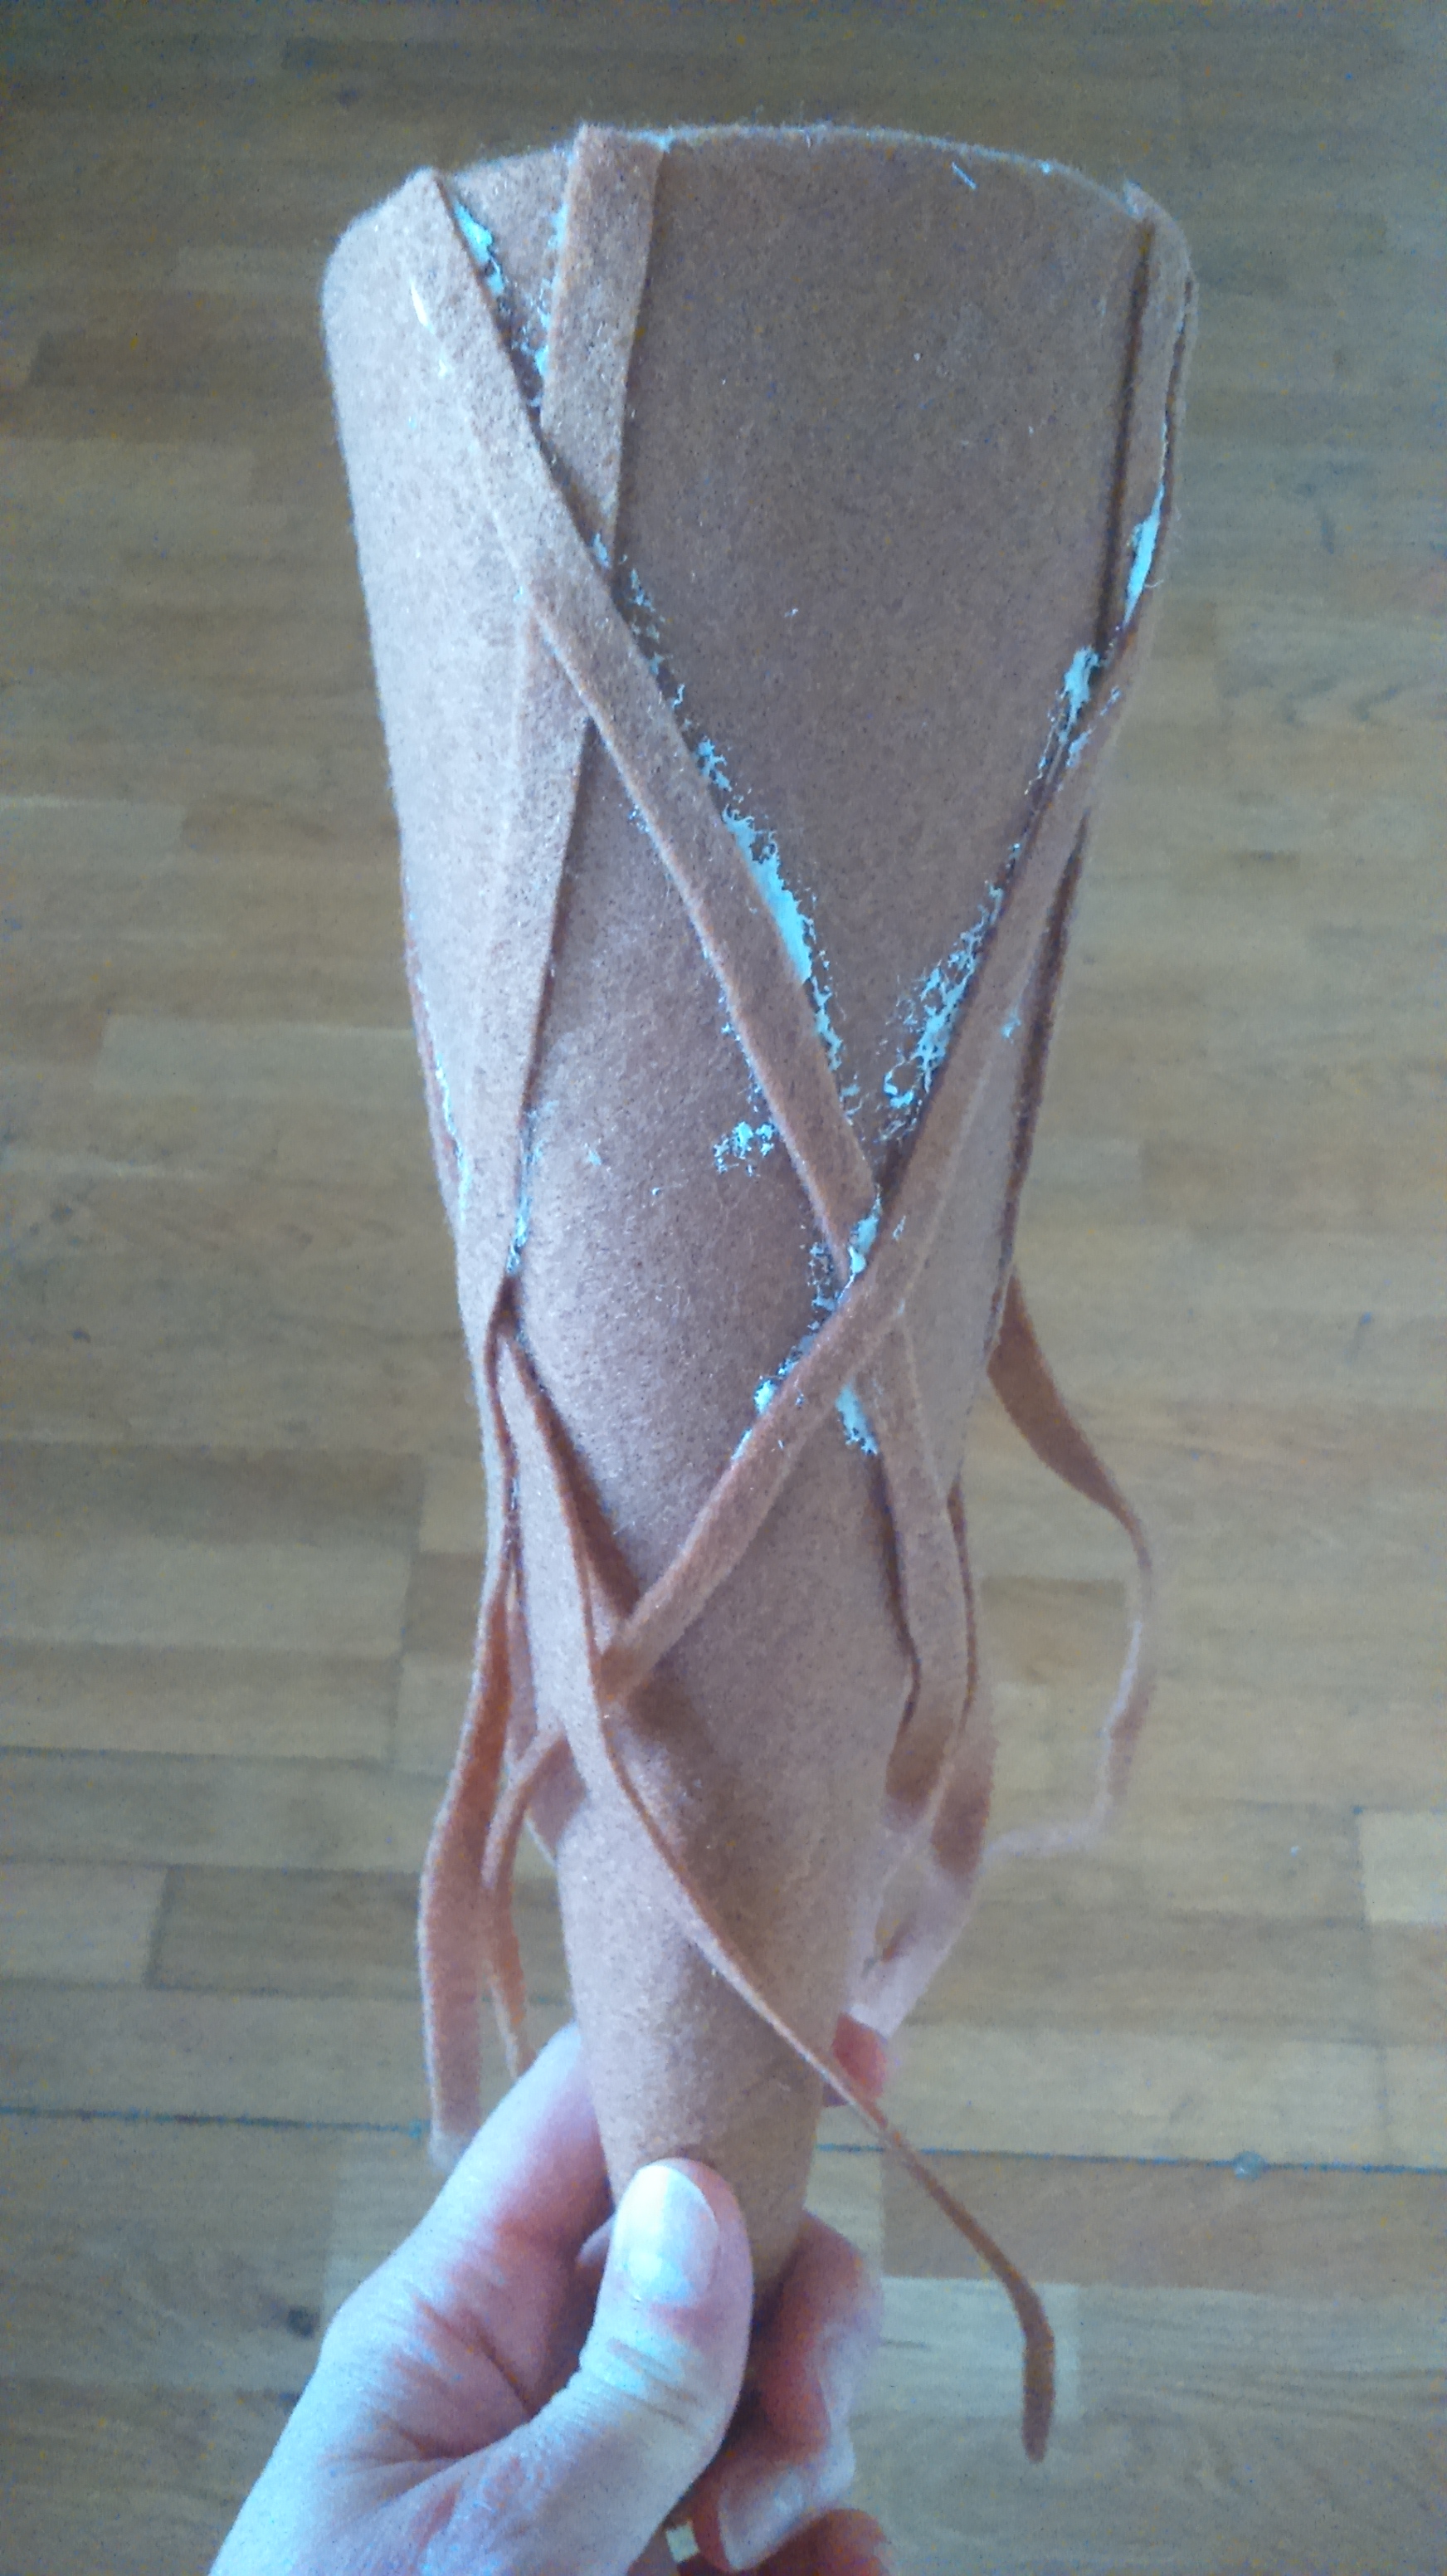
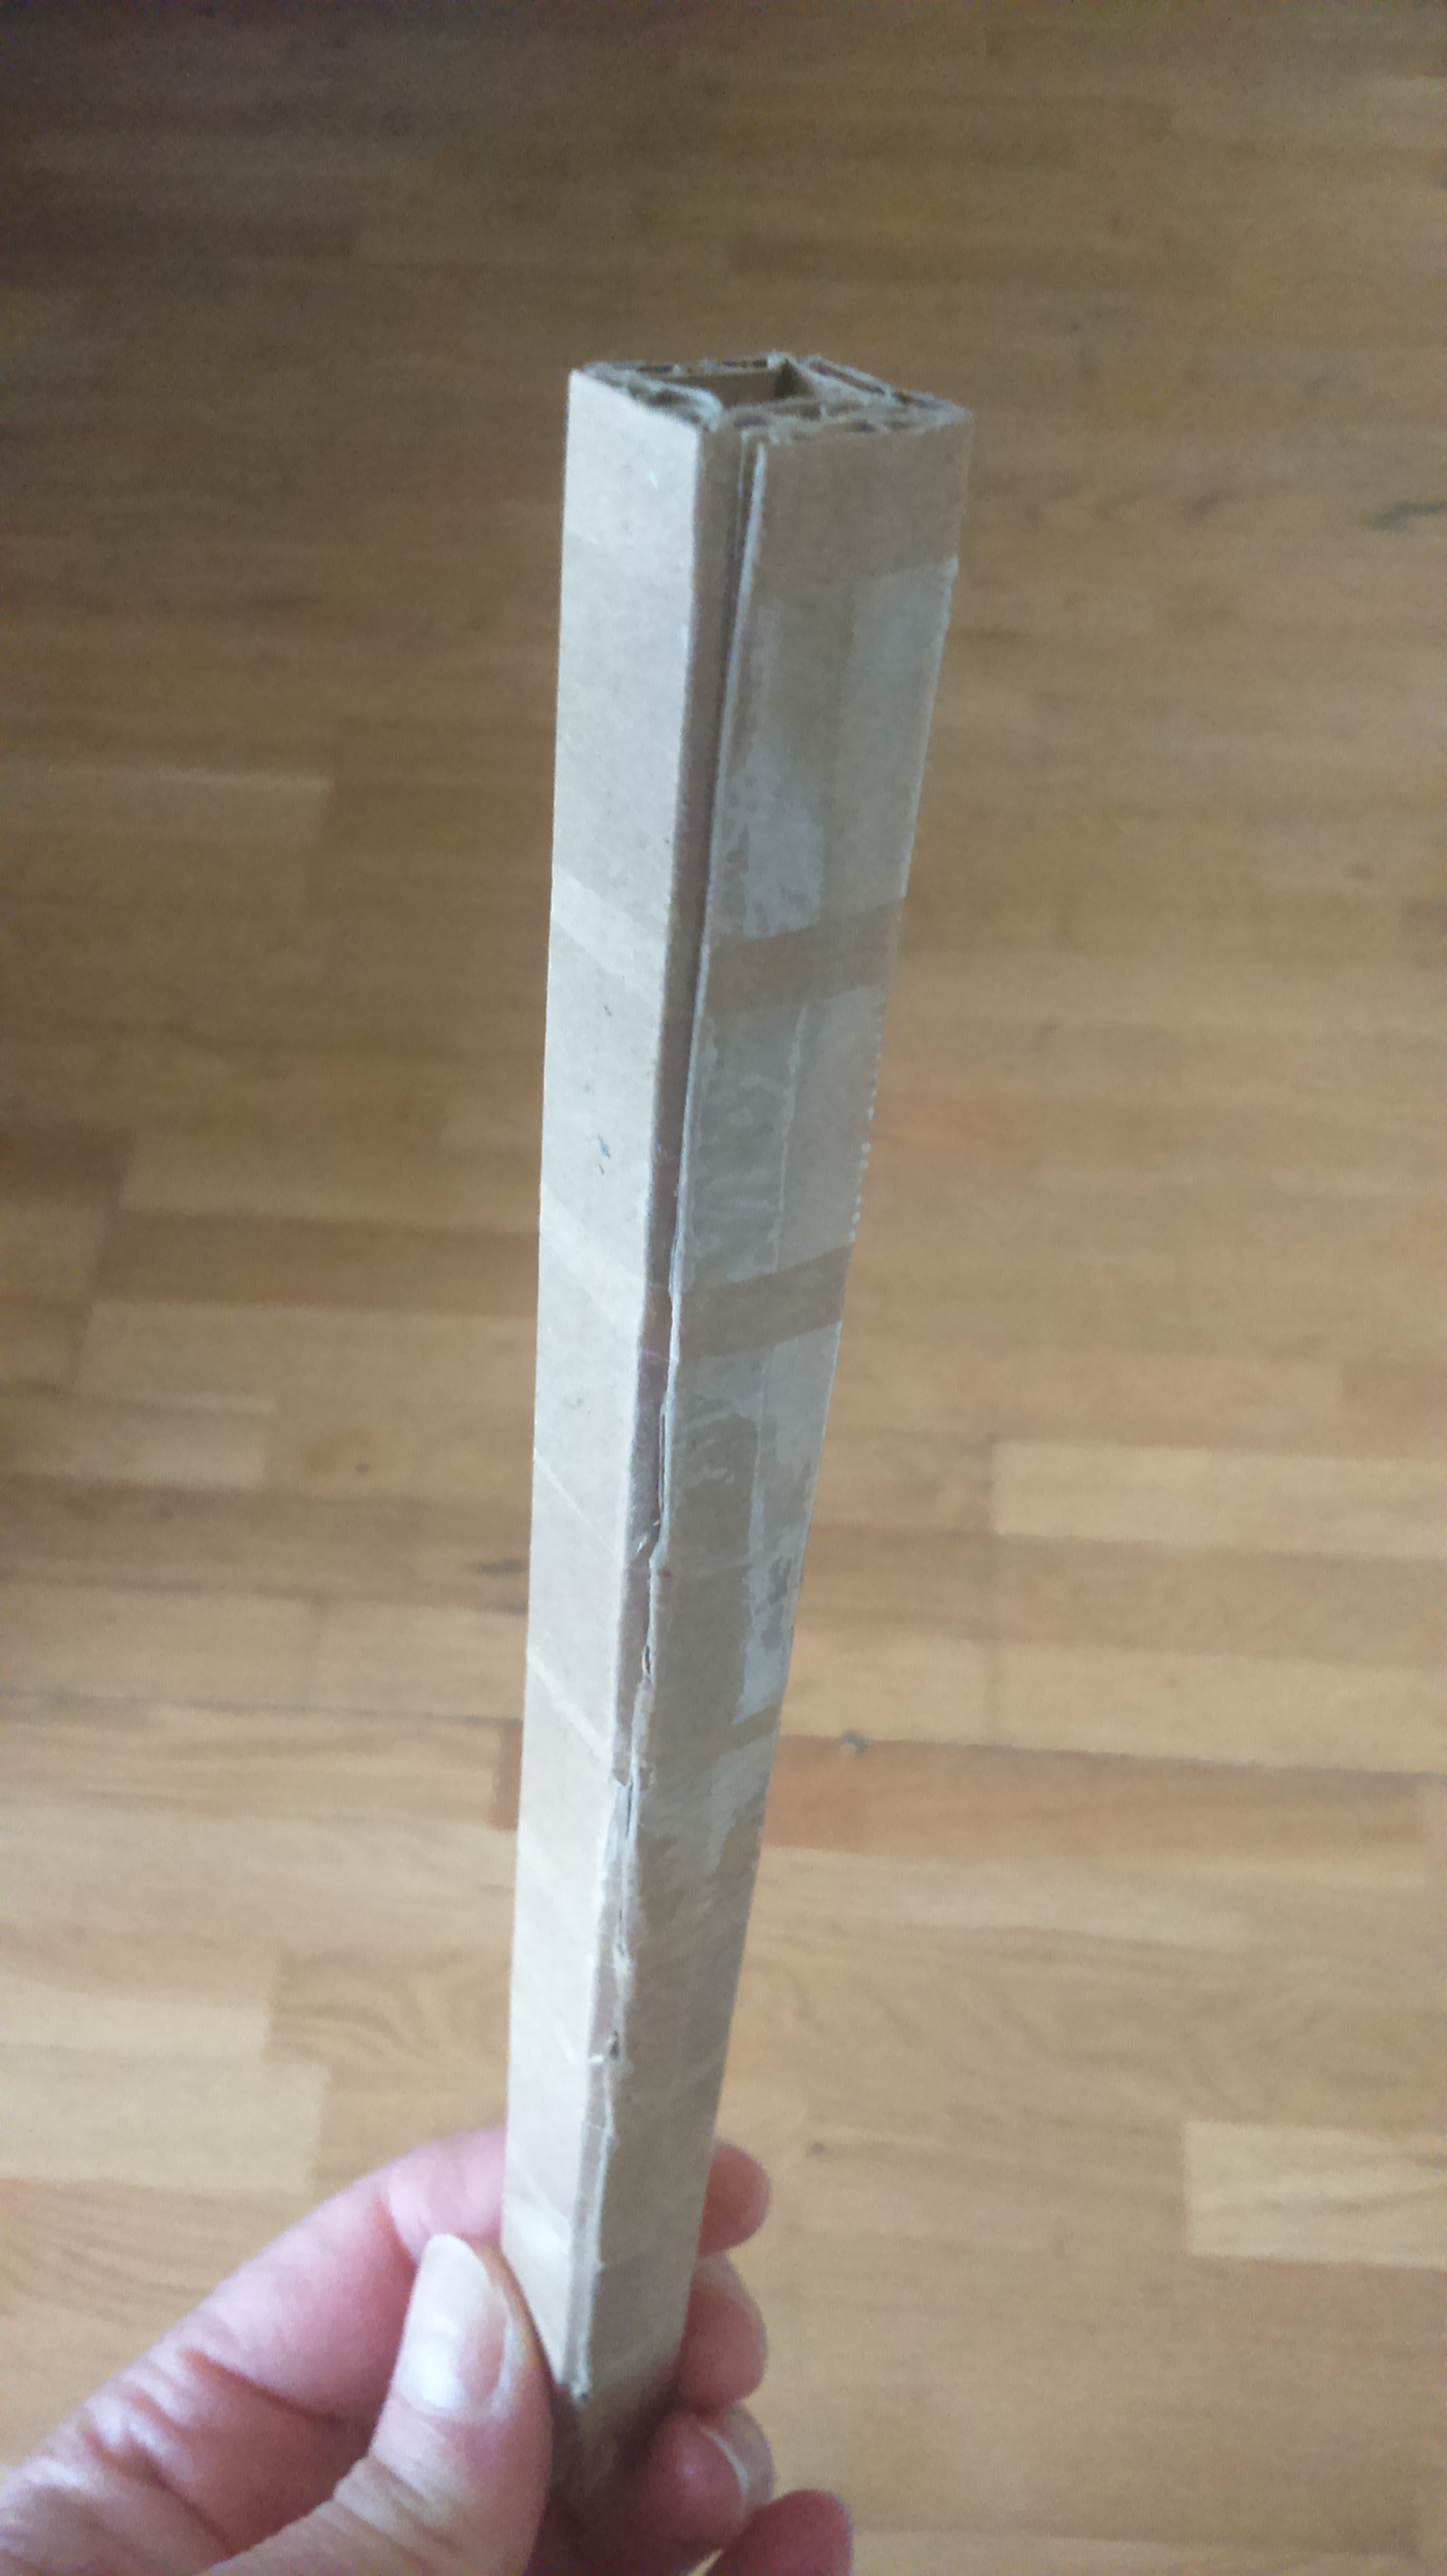
These weren’t in my original design and I wasn’t at all sure how effective they’d be. While waiting for the glue to dry, I made the flake from corrugated card (the reason being, it’s nice and easy to fold into 3D shapes and holds its shape well):
Then I covered it with dark brown felt and attached it to the inside of the cone:
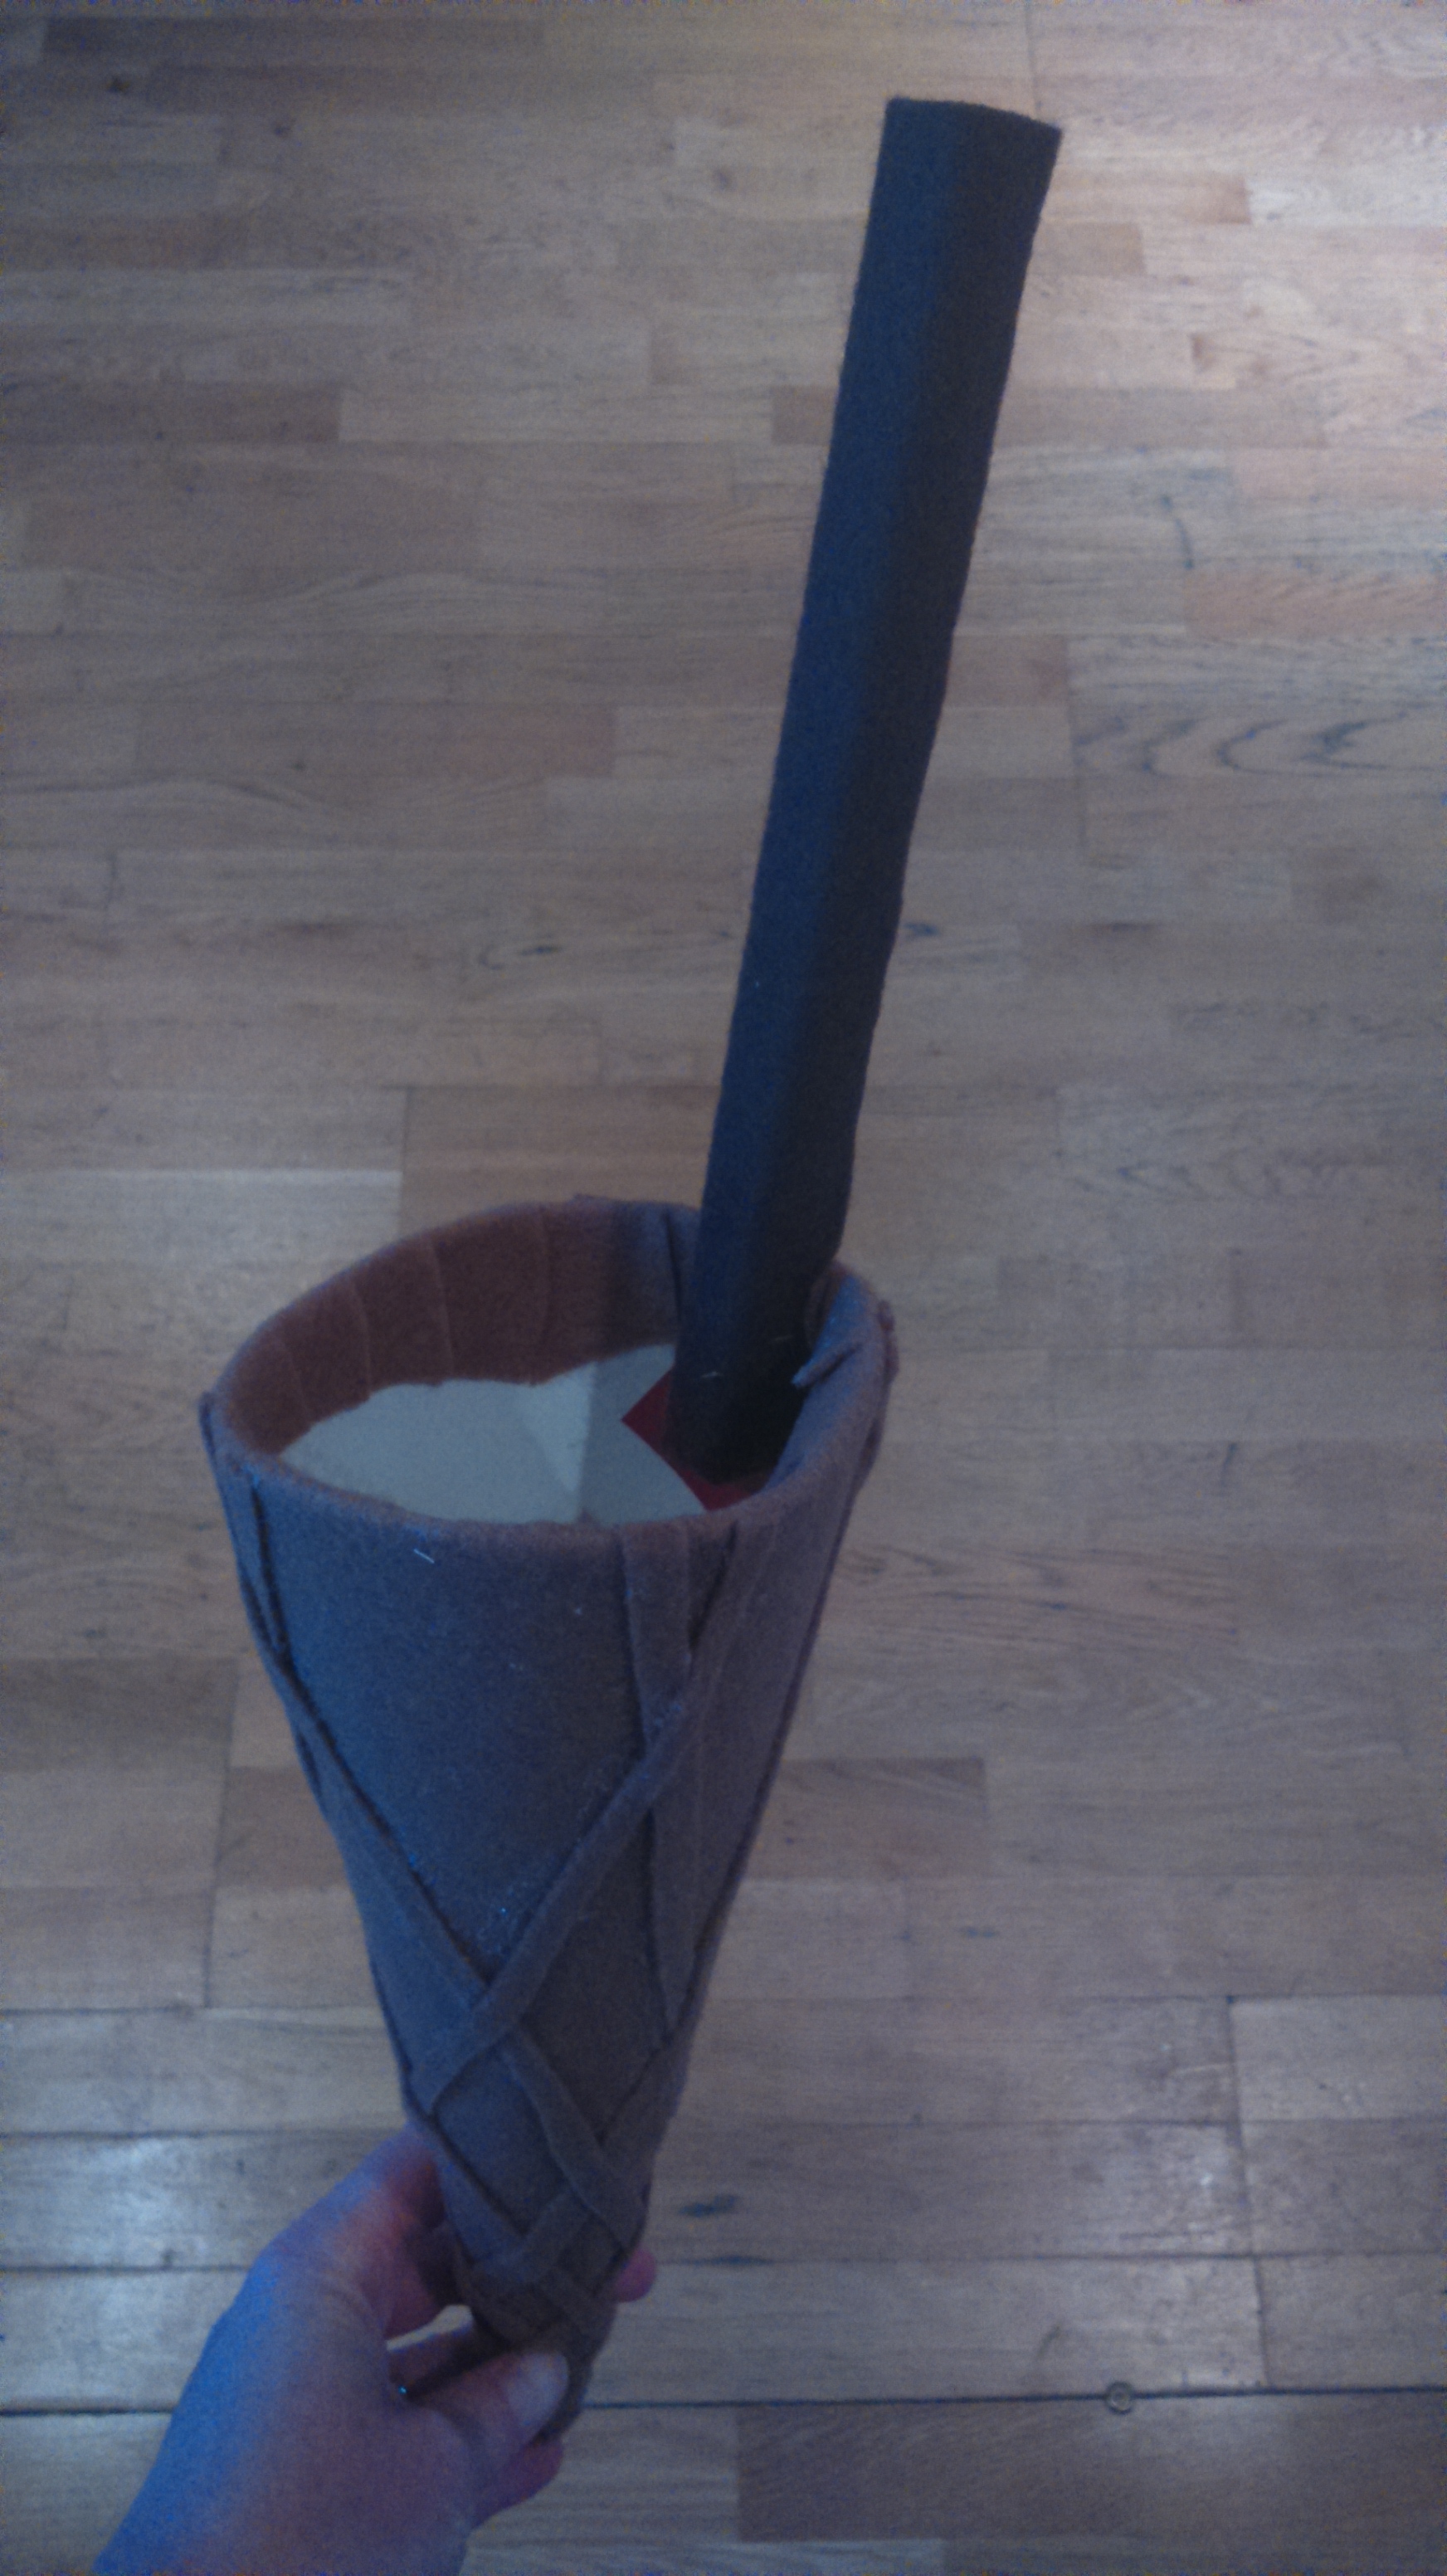
I thought about gluing it in but I don’t have a hot glue gun, and normal glue wouldn’t have been good enough, so I sewed it in:
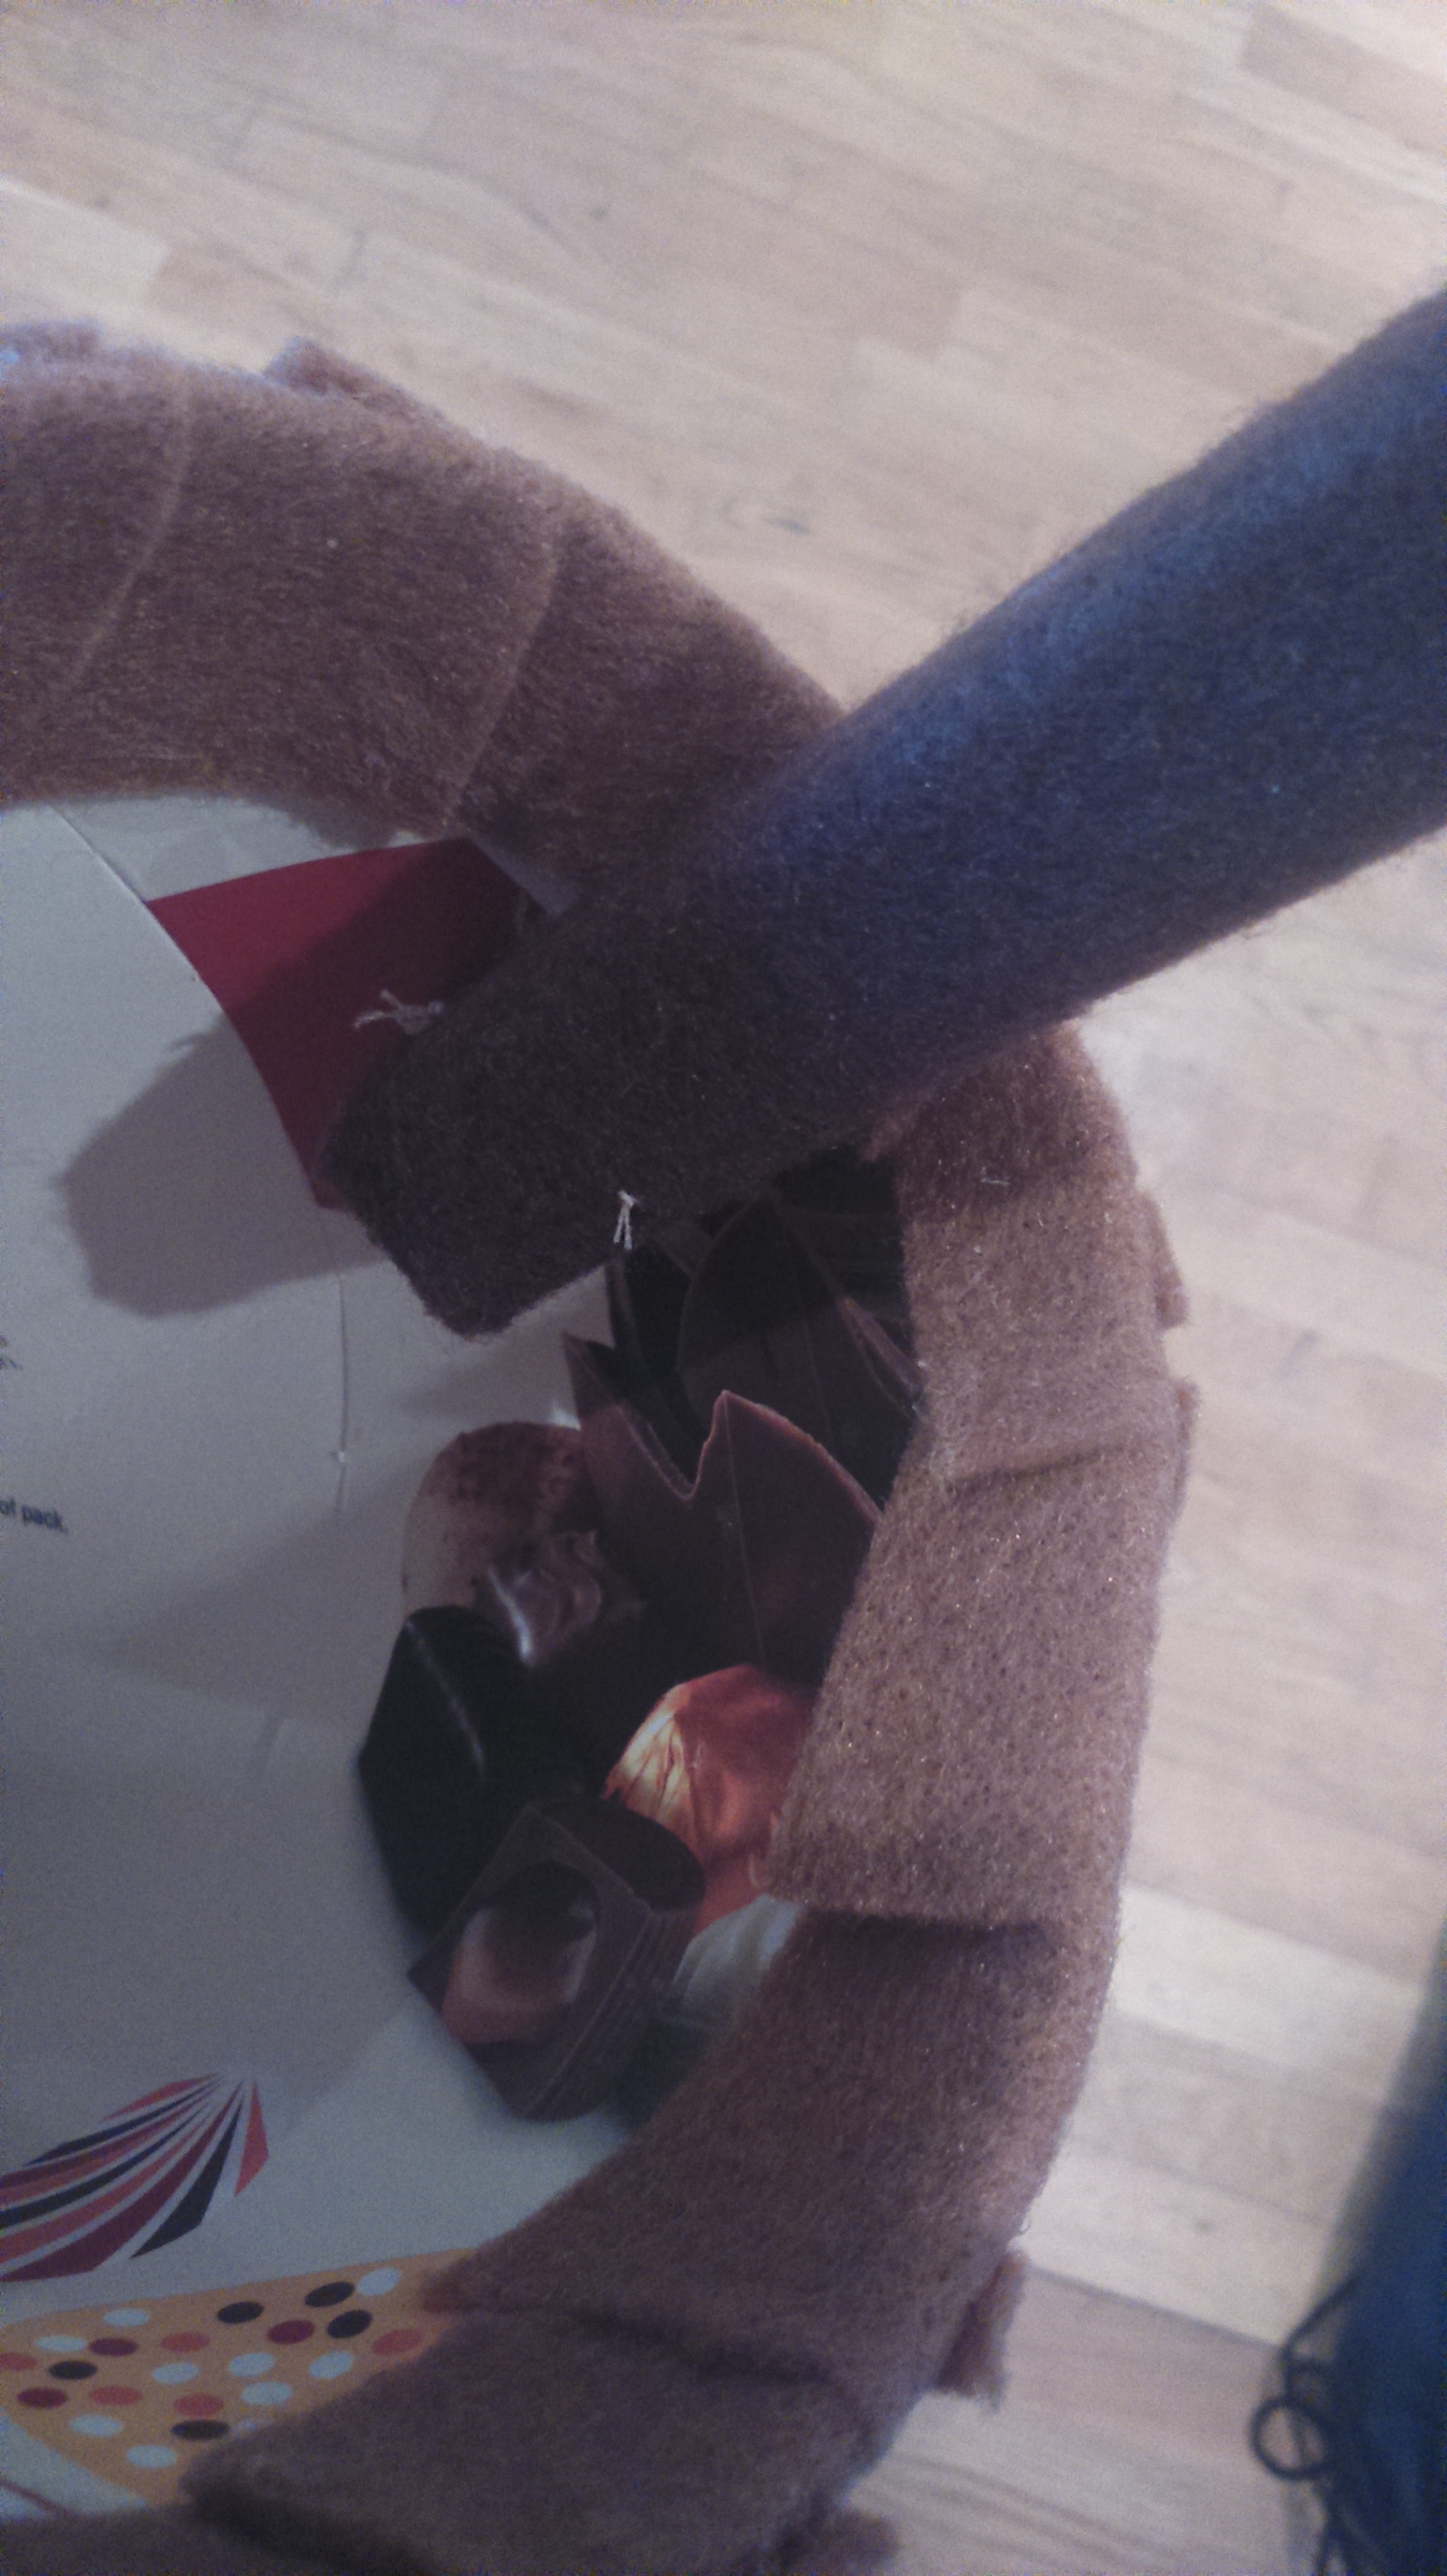
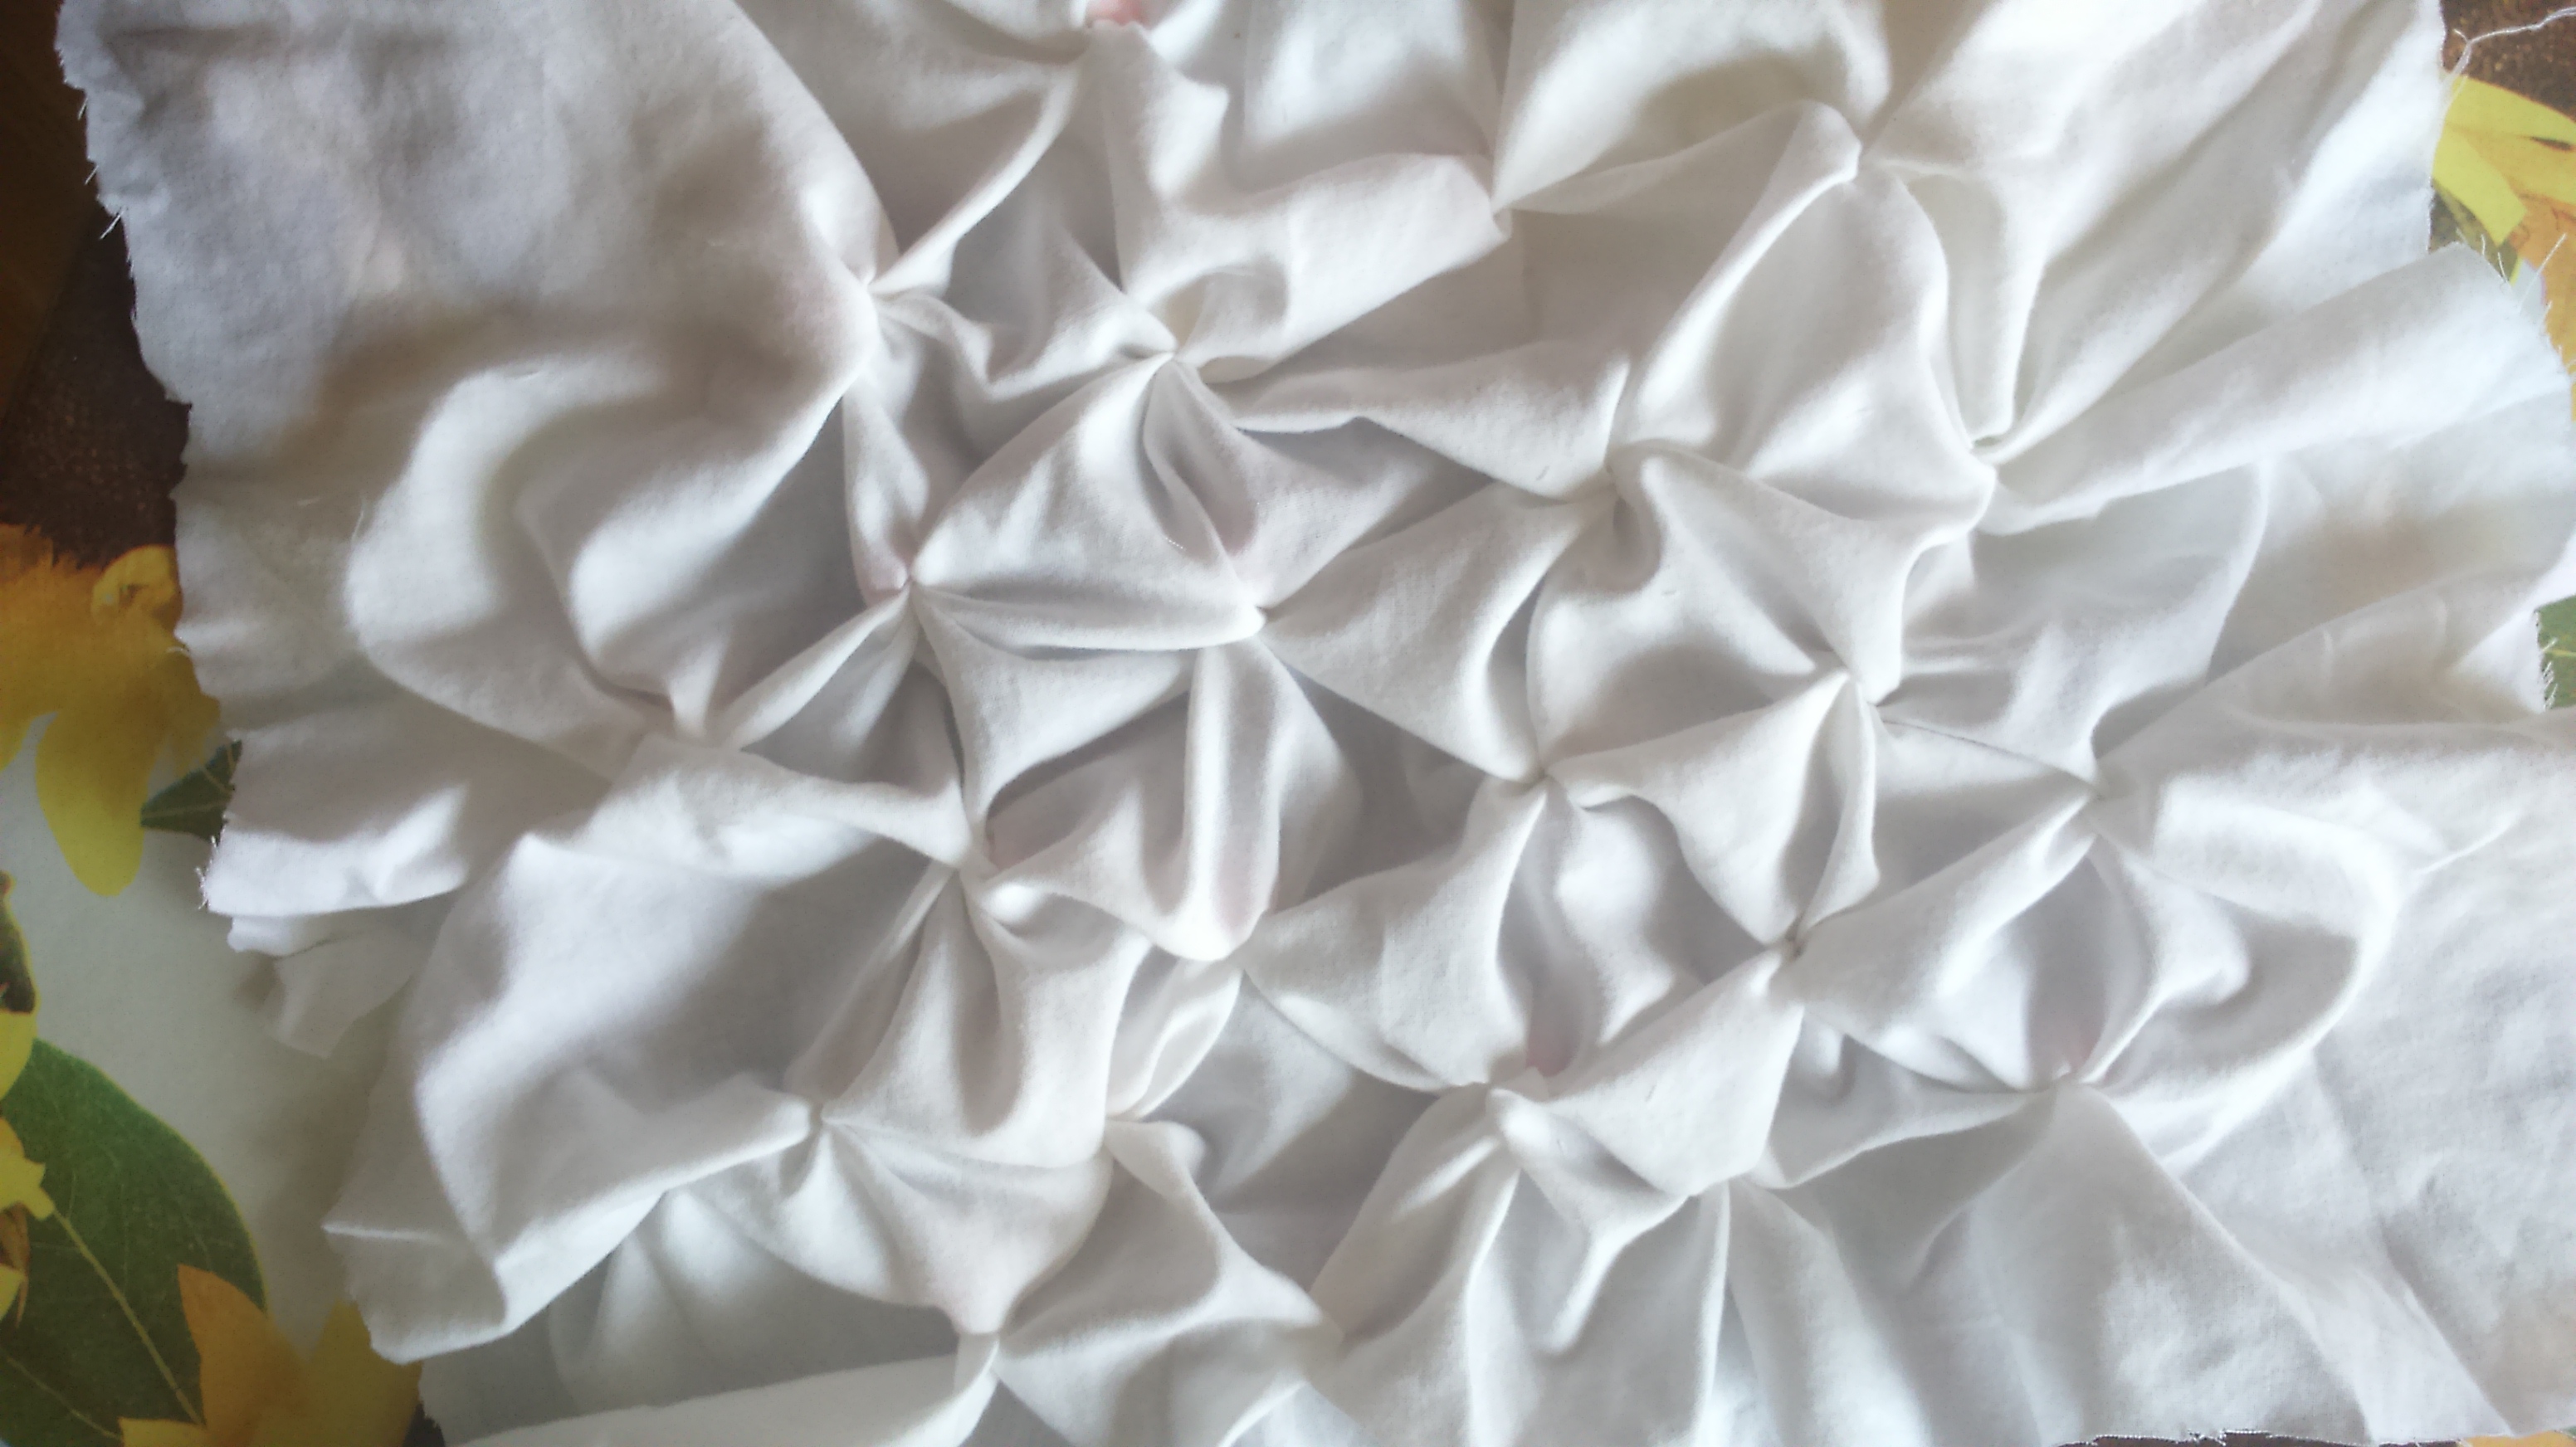
This was a bit of a pain because I had to sew through two or three layers of cardboard at a time, but when it was done, it was very secure! I turned my attention to the cotton sheet that was to be the ice cream part. I pinched sections of the fabric and tied them with loom bands – as you would when tie-dying:
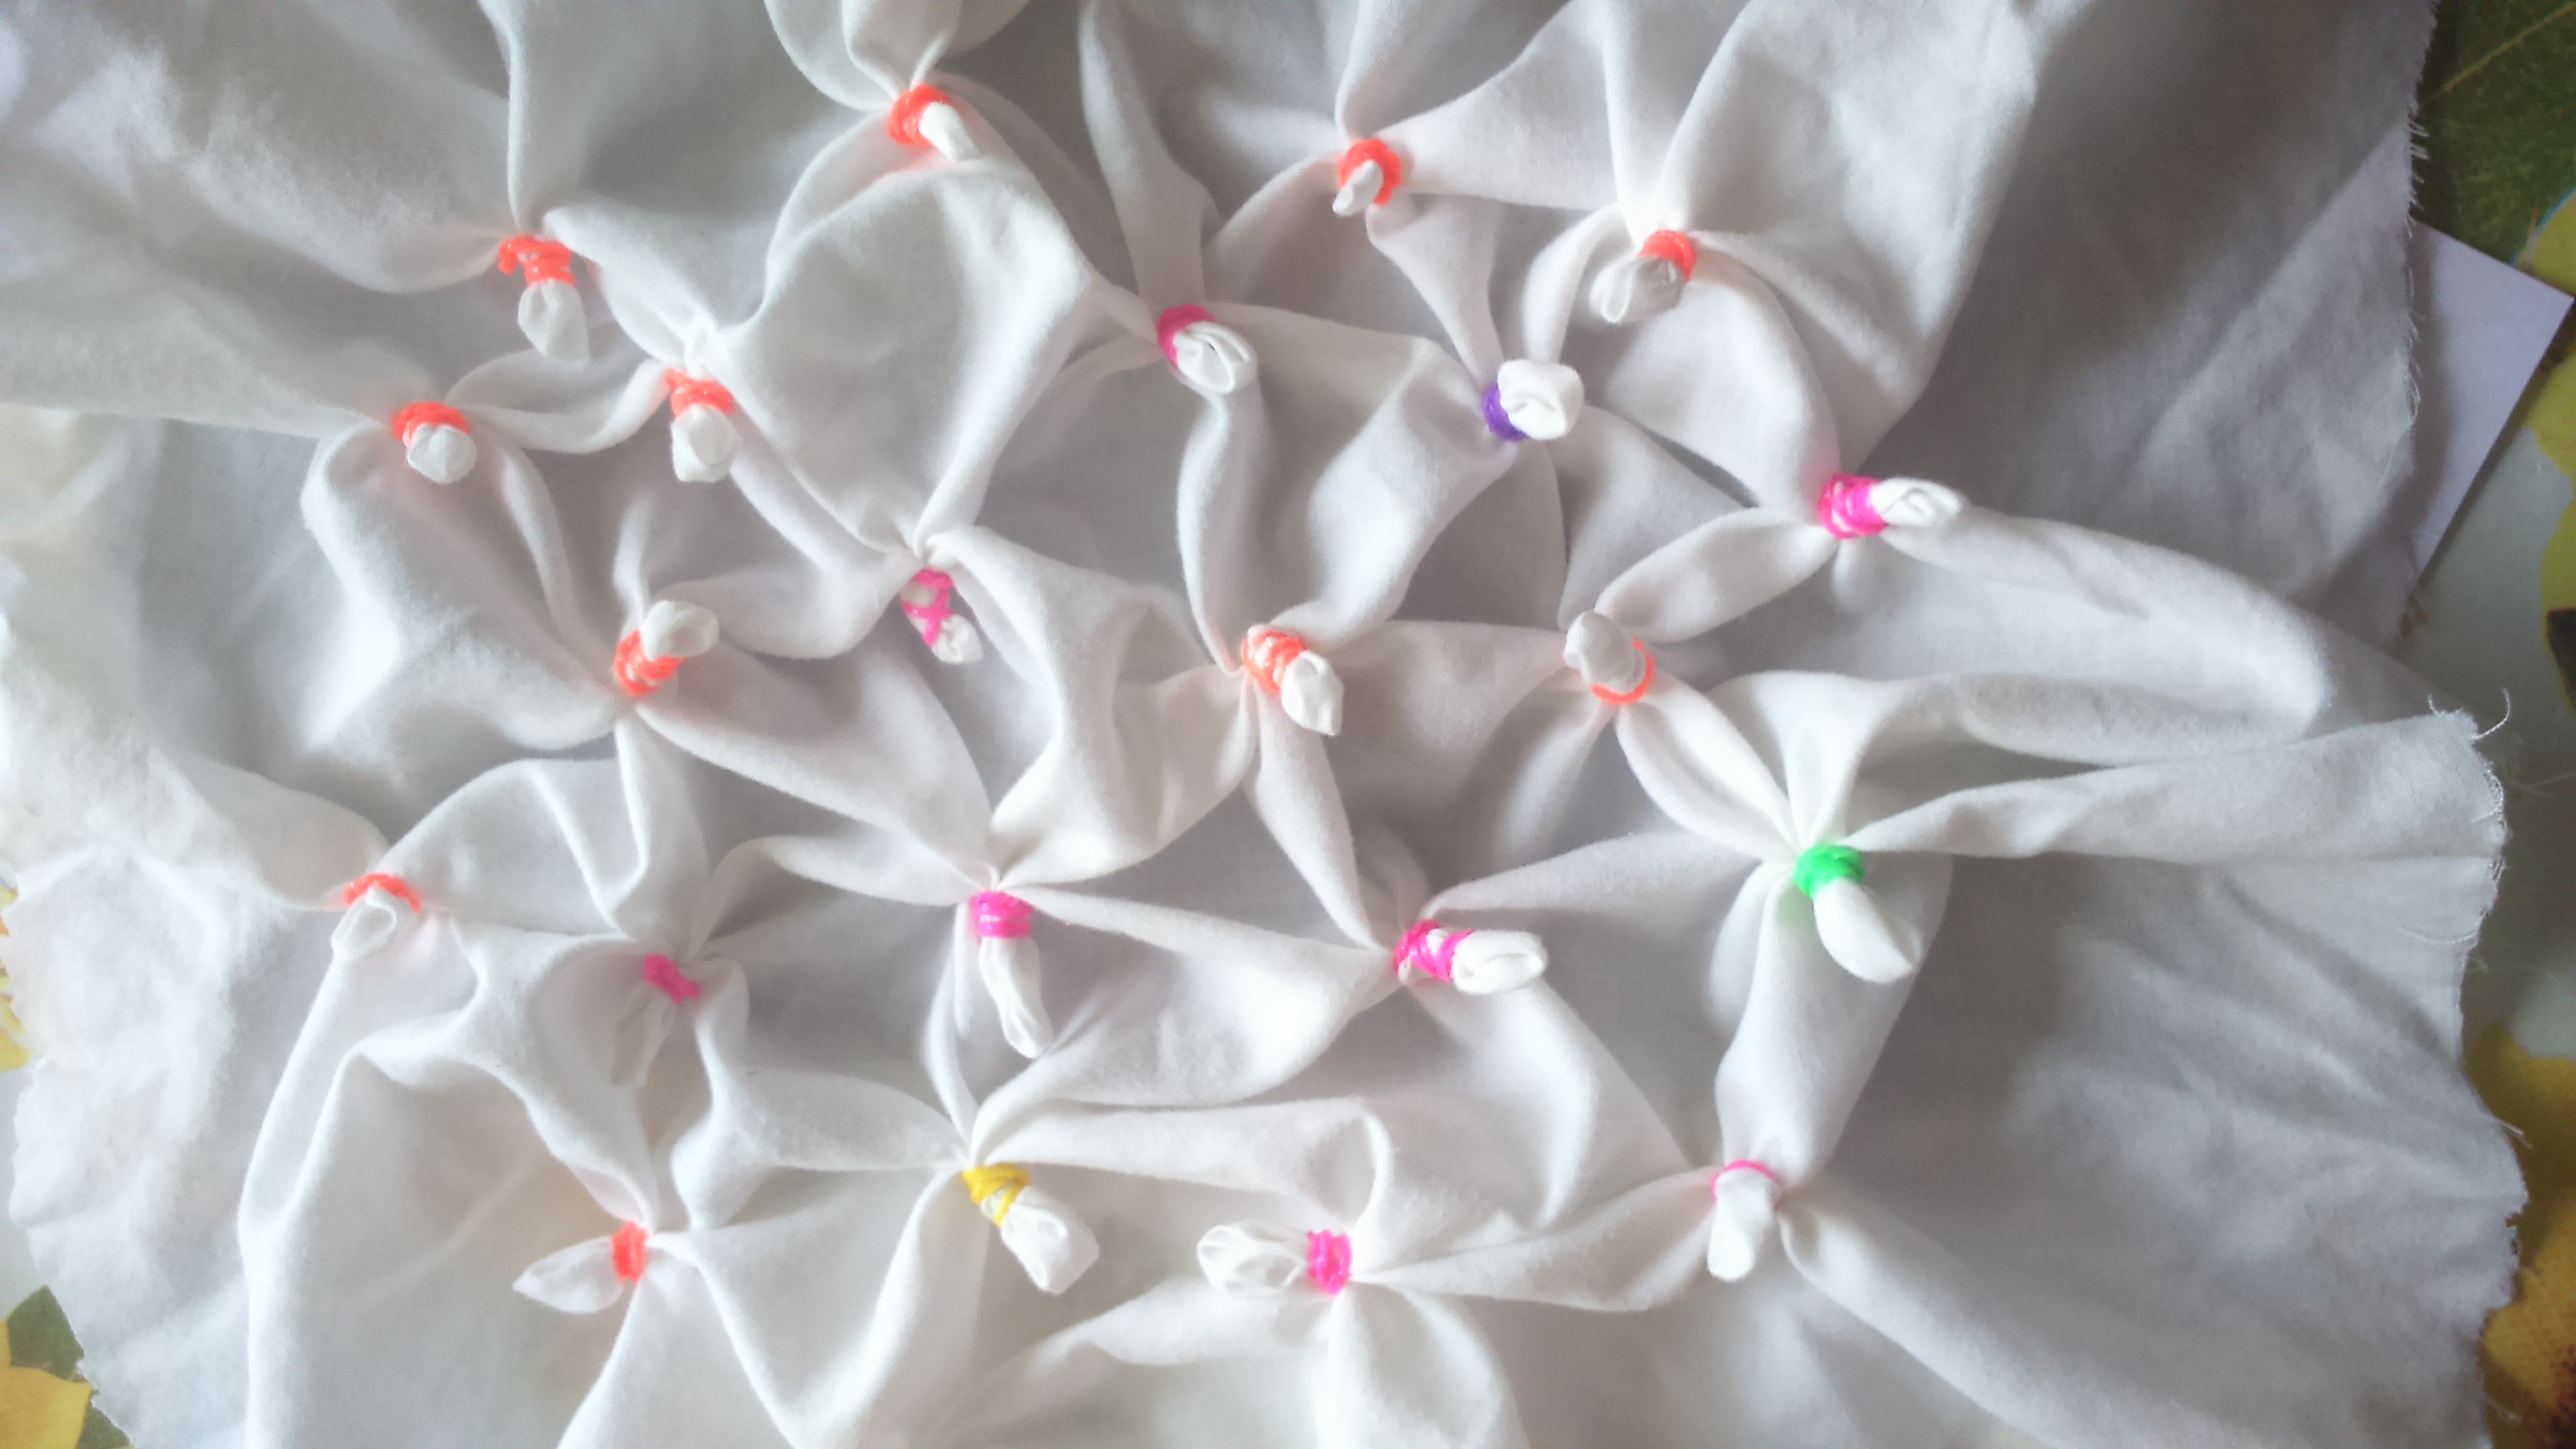
I hadn’t anticipated using quite so many, but the fabric looked better when the pinches were close together. When I’d finished, the reverse side looked like this:
I made a small hole in the fabric for the flake to poke through. Then I filled the cone with toy stuffing and started to attach the fabric to the top of the cone – sewing again, since there was a lot of fabric to gather up and stitch in. In hindsight, I’d have done better to gather the whole thing first with a running stitch before attaching to the cone, because I ended up with all the gathers on one side when I realised I hadn’t been gathering enough!
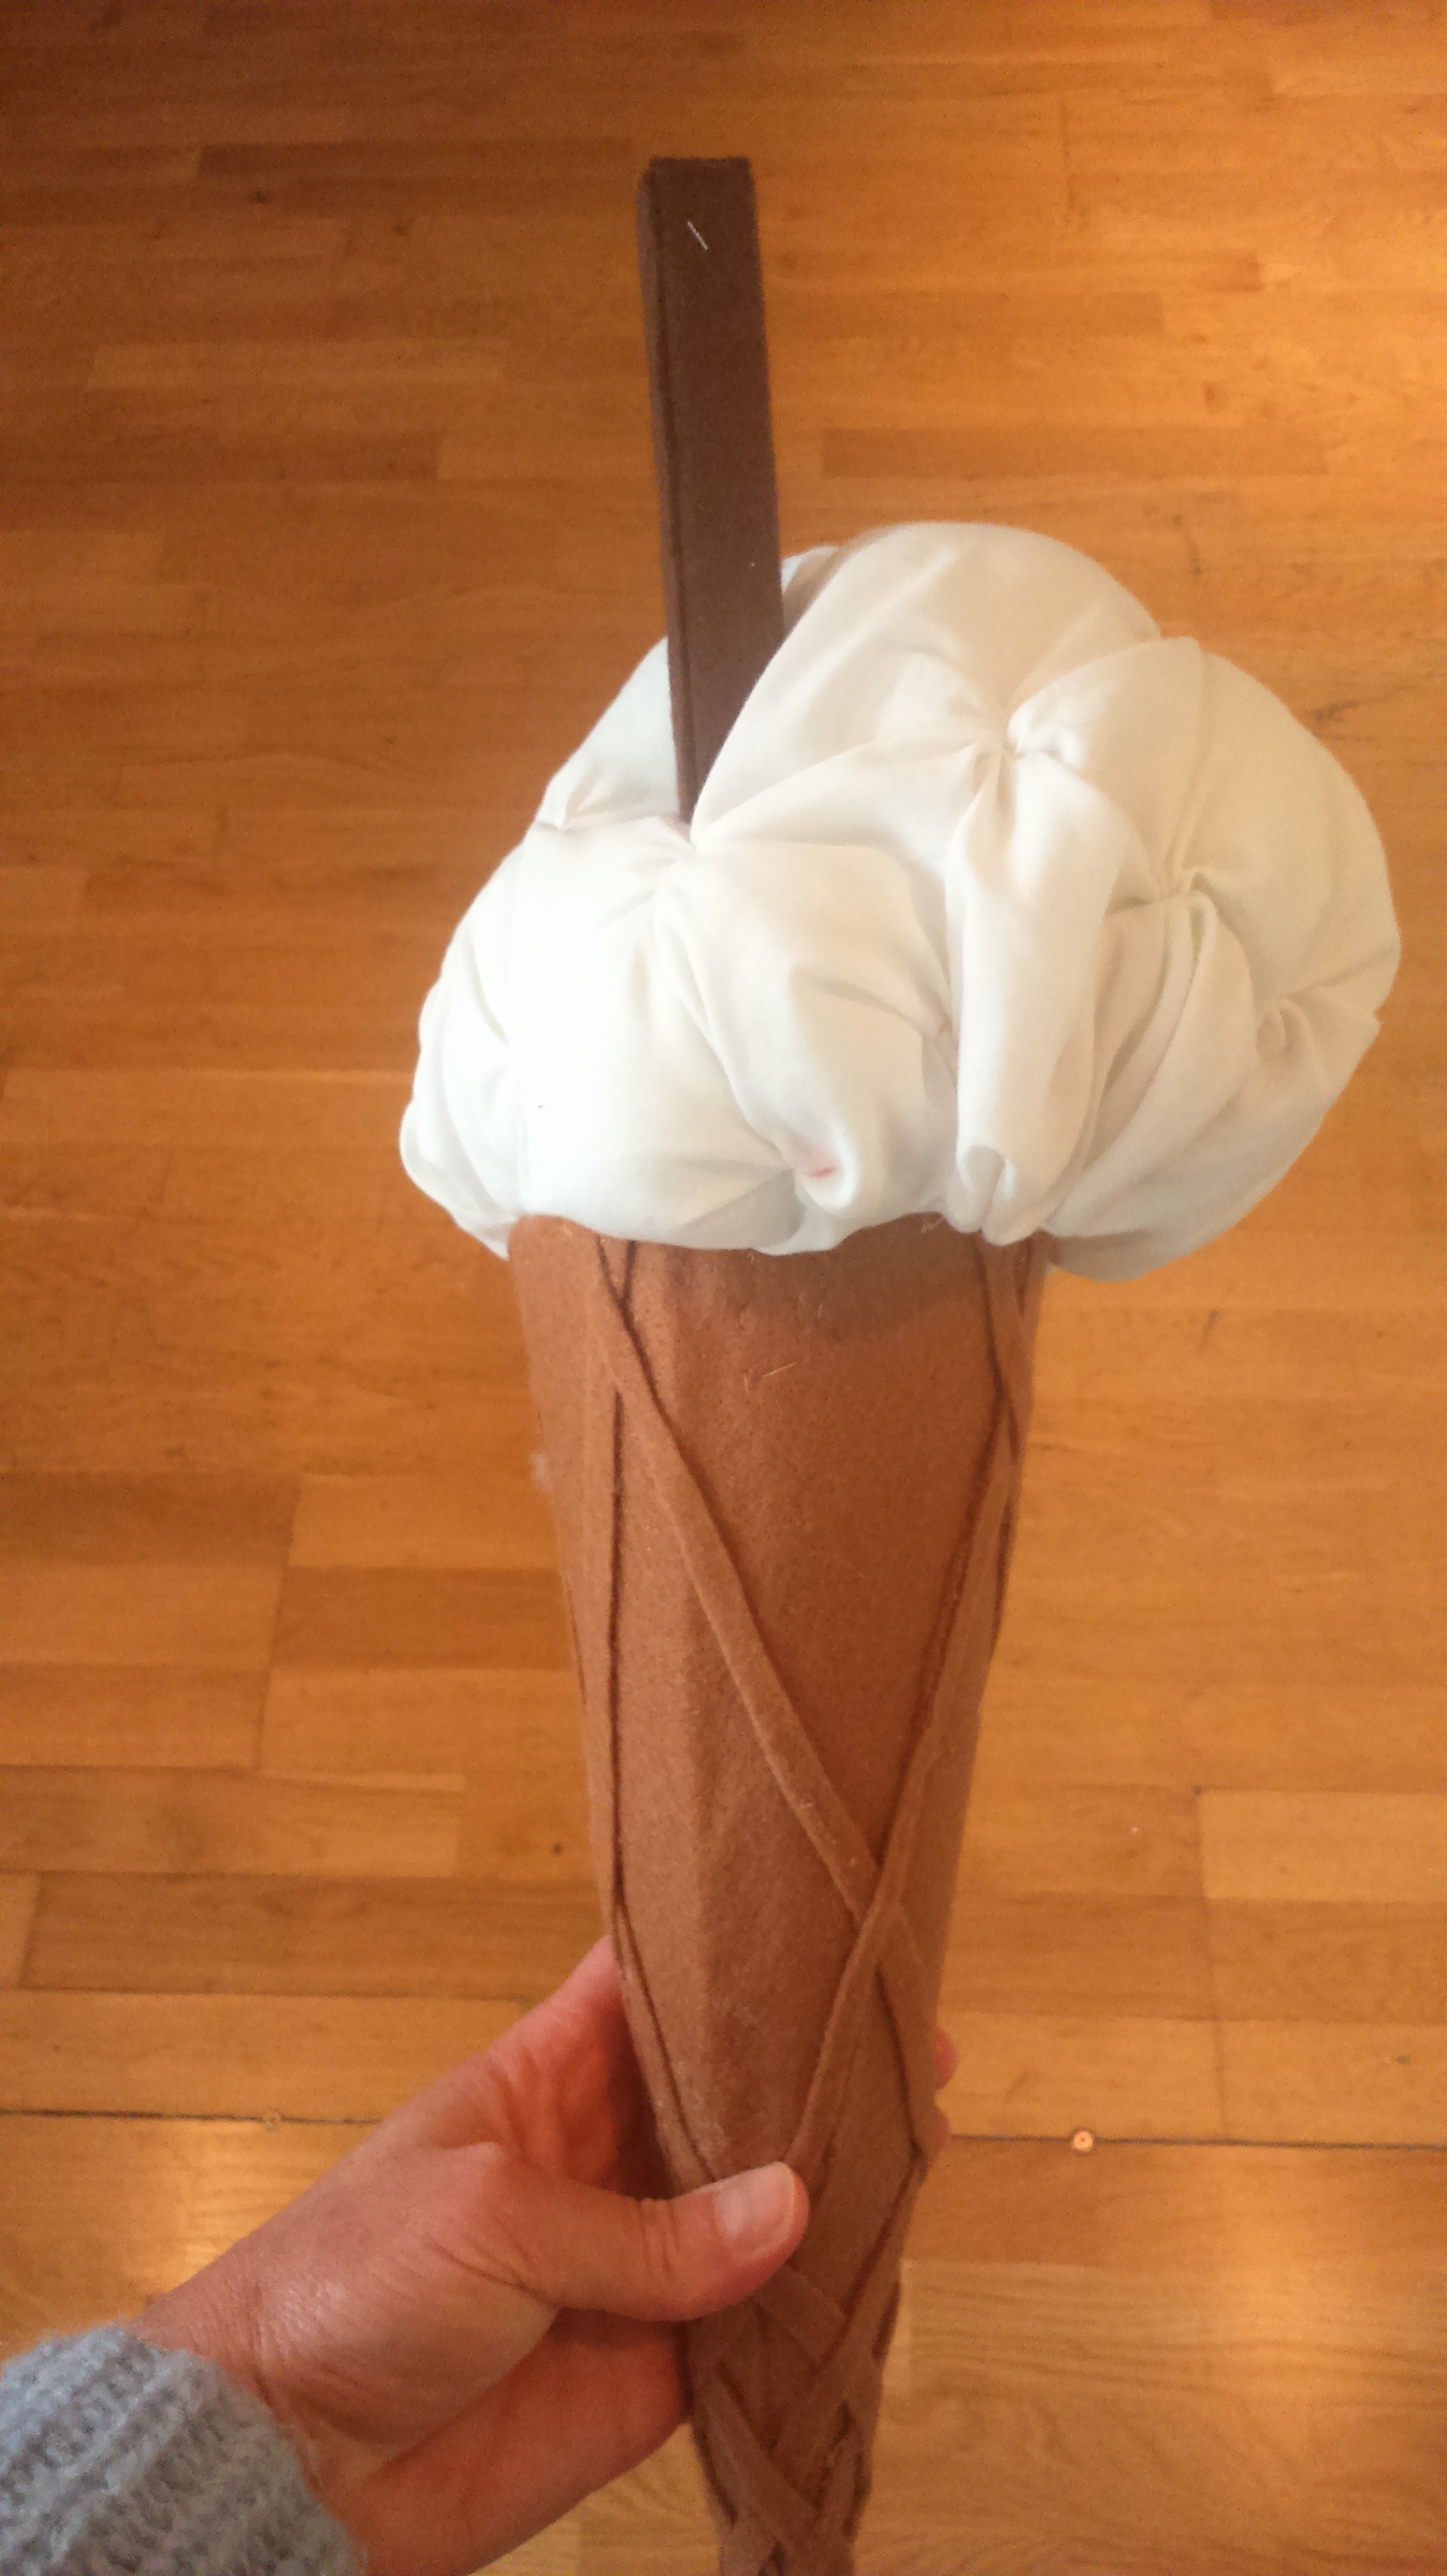
I could have taken it apart and started again, of course, but I reasoned that if I turned the cone around, no one would notice:
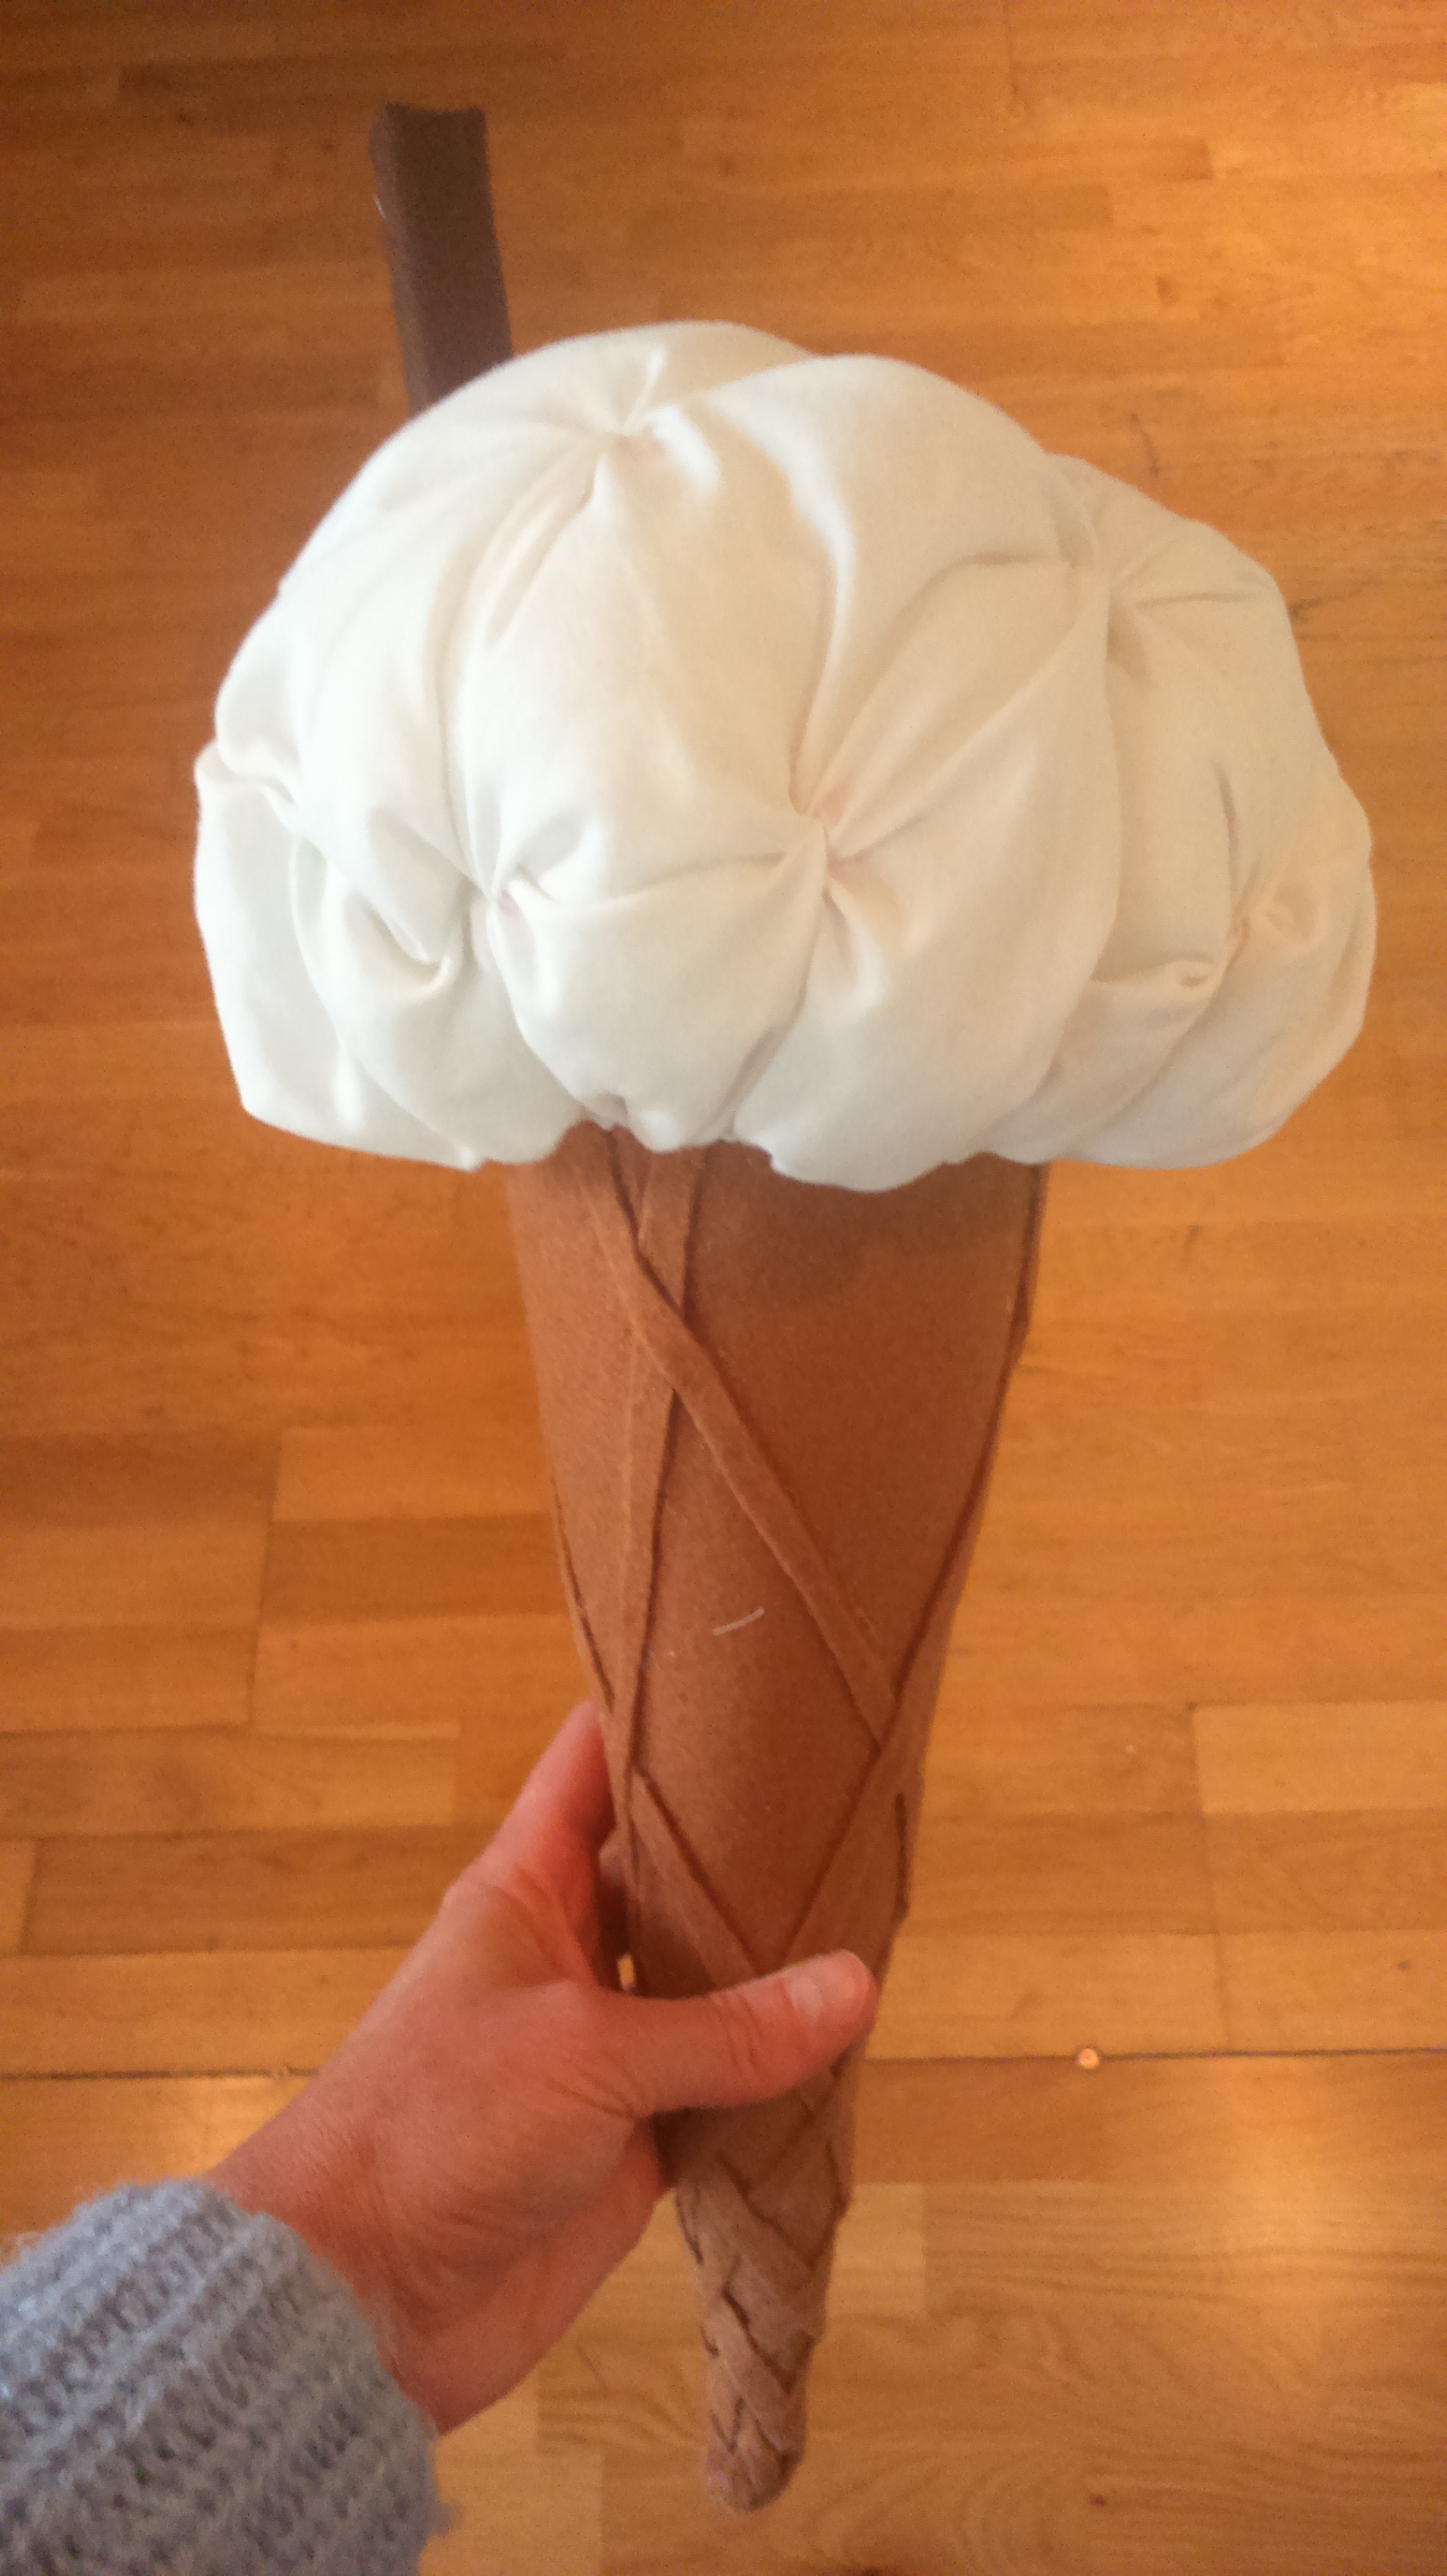
Once that was done (and I’d only pricked myself twice), I realised that I was still dissatisfied with the look of the cone – so I added a few more pieces to the top. And voila! One giant fake ice cream cone – with me, for scale:

I’d be delighted to see any other attempts at giant ice creams based on my design 😉 perhaps some sprinkles next time…? Or chocolate sauce?
*the reason WHY will be revealed very soon!

One thought on “How to make a Giant Fake Ice Cream Cone”